


Homeschool Art Lessons: a realistic guide
In which truth, goodness, and beauty come alive with paint, pencils, and paper

Last month we looked at the life-giving qualities of a good science experiment when offered in the homeschool. Now we get to look at Art Lessons, the always appreciated, yet often skipped piece of the homeschool curriculum. We usually consider this an “extra” so if things like math, grammar, and history aren’t happening, it’s generally pushed aside. Or, if you are like me, your art education was woefully lacking and the idea of teaching your children about more things you aren’t familiar with is just too much, thank you very much.
But hang with me. I know takes a lot of brain power and physical exertion to implement an art lesson, but the point here isn’t to minimize our work output so that we can be free to do whatever else we need/want to do- this is our children’s education we are talking about, after all. Today, we are talking about being effective not efficient. Remember, we are feeding their minds with truth, beauty, and goodness. Is there a better way to feed their minds than to show them how to participate in creating beauty, illuminating the truth, and pointing to God’s goodness through making something worthy of their precious time?
In case you are still not convinced that art feeds the soul of your child and also (from a practical point) supports his academic efforts I’m offering Four Reasons Teaching Art in your Homeschool is worth it (and this from a non-art teacher!) Let’s begin"":
1. Your children will learn to express ideas through pictures: Just like writing, speaking, playing music, and computing numbers, being able to convey an idea through drawing or painting is extremely valuable because it allows a person to more fully express and share ideas. (Notice, please, that I didn’t say “express themselves.” Art is not about self-expression.) We want our children to be able to join inn the Great Conversation in a whole-bodied way. That means teaching them how to use their hands to draw and paint and sculpt so that they can express the truth, point to God’s goodness, and be actively engaged in beauty.
2. They will be able to develop sympathy with the work of great artists. Children who’ve tried to make repeated lines look even or add detailed to a border, or make an animal or a person with the right perspective can understand the amount of time and attention such masterful art requires of a person. Mona Lisa’s eyes don’t follow you by accident. But, with patience one can learn this and many other artistic skills because making things is a uniquely human endeavor.
3. They will develop their habit of attention in a way that is different from working sums or learning to read. Art requires their attention because they must make choices about what to do with their hands. They will pull from inside themselves the need to be still, intentional, and careful because the work demands it of them to get the proper effect. This level of self-control will be present in other areas and is often magnified with art. Children get into a “zone.” Fair warning, some children get frustrated because of the need to control themselves deeply. Short lessons will help keep things enjoyable and doable.
4. Their hands will be productively occupied for many hours longer than the lesson. My kids usually spend the rest of the week practicing the concept I’ve presented to them in the weekly art lesson. The lesson is an introduction to an idea. We often don’t have enough time for them to sit for hours and work on their creation— that’s what Afternoon Occupations are for.
Ok, but you are saying, “That’s lovely, Joy, but I don’t know how to draw or paint!”
Right. I didn’t either and I’m still learning all of the time!
Below I share some of the online schools we use that will get you started plus some books you can hand to your kids to get their creative juices flowing in a guided-helpful way.
Before I share all my amazing resources, let’s talk LOGISTICS. I typically schedule art by the term. In Term 1 we might do watercolor, then in Term 2 we will do clay modeling, then in Term 3 we will do Illuminated Manuscripts. Sometimes I alternate every other week for a Term for instance we once alternated drawing instruction from Drawing on the Right Side of the Brain with Clay modeling lessons then the next term we made Christmas cards and gifts and in the Spring we took at Watercolor Landscape course with Lily and Thistle. This is ONE way you could do it. But just pick one thing for now and BE CONSISTENT so you can see marvelous fruit from your labors. Consistency is the key to helping your children become comfortable with any medium.
The other thing I do is pick a day and time during our morning school hours to teach art. I know that many Charlotte Mason curricula have art as “Afternoon Instruction.” This is great if you can find an art teacher or otherwise get help. But if I’m teaching its I need it to happen I the morning or else the day will get away and frankly, I’m too tired to teach small children to do much in the afternoons.
Here are my favorite resources and mediums to try as you dip your toe into offering art lessons in your homeschool :
(I use affiliate links below. Thank you for supporting my work.)
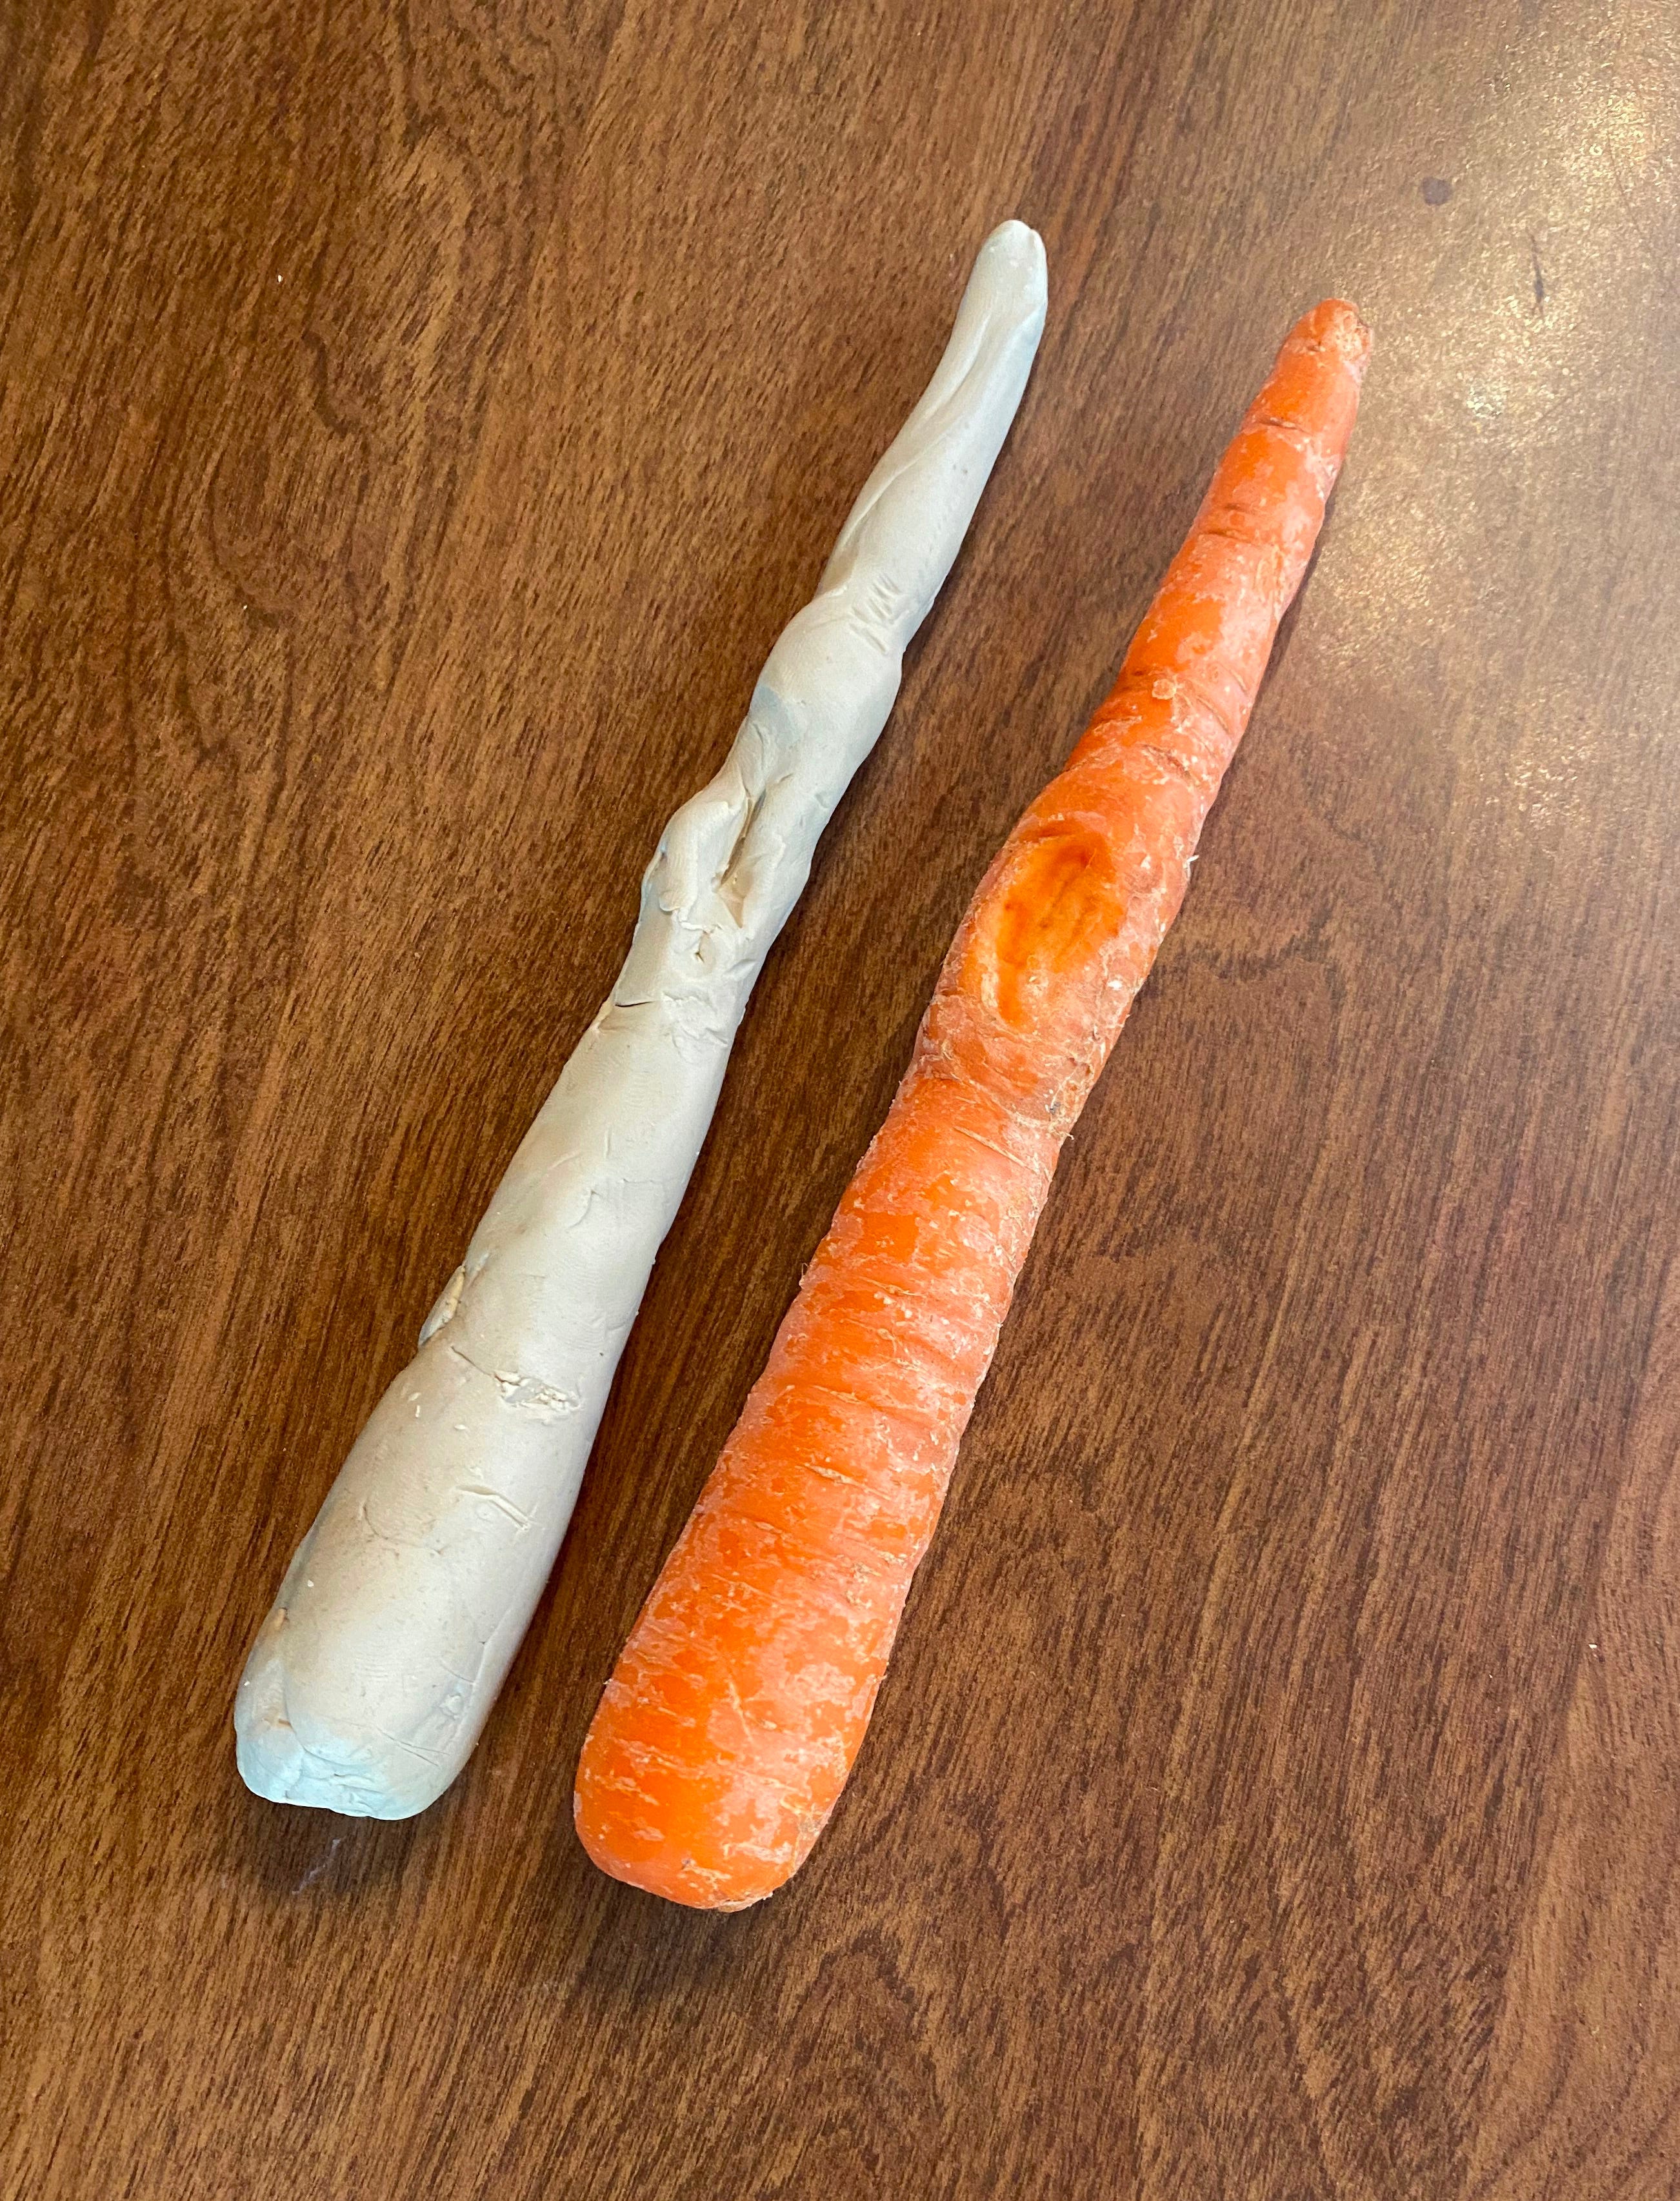
Clay Modeling:
This one is for all ages and is popular with every age. The basic idea is to take small items from around your home or nature and recreate them with clay. Children love to do this. I’ve used carrots, apples, pears, tea cups, spoons, acorns, pecans, leaves, feathers etc. You could even try to create chicken or bird feet, beaks, or eggs. The possibilities are endless and it’s a perfect way to learn about making shapes before formal drawing instruction. If you are a member at the CMEC, they have plenty of instructional videos for getting started with clay modeling. If not, I’ll betcha there’s an art teacher online who has a few on YouTube to get you started.
The List:
Ages: All ages
Supplies:
Modeling Clay Medium (for older kids)
Modeling Clay Soft (for younger kids)
Silicone baking mat
Pottery sculpting tools
Book for instruction:
A Manual of Clay-Modelling by Hermione Unwin
Drawing Instruction:
Drawing instruction is the foundational skill for any art medium. Once you can wield a pencil, you can pick up any other medium and take off. I am inspired by Tolkien’s drawings he shares in his books. I love that we are able to see what he sees through the pictures he provides. In his Father Christmas letters he uses drawings to delight his children. That’s what art does - or can do - bring joy to others.
In our home, the best way we’ve learned to draw is from copying line drawings from books. Peterson Field Guide coloring books work for nature study and Edwin Tunis and Eric Sloan offer some excellent drawings of artifacts from history to add to the Book of Centuries or History Notebooks. The key is to give children LINE DRAWINGS not photographs because someone else has done the hard work of transforming the image into a drawing now all we need to do is copy their lines onto our page and voila!
The List:
Supplies:
Ticonderoga pencils
Prismacolor pencils (soft and easy to blend)
Castle Art colored pencils (we liked these and are a better price than Prisma)
Sketch book (my kids like this one because it has softer paper and a hardcover)
Paper from anywhere
Ages: 6+
Book for younger kids:
How to Draw Almost Everything by Chika Miyaka
Ages: 9+
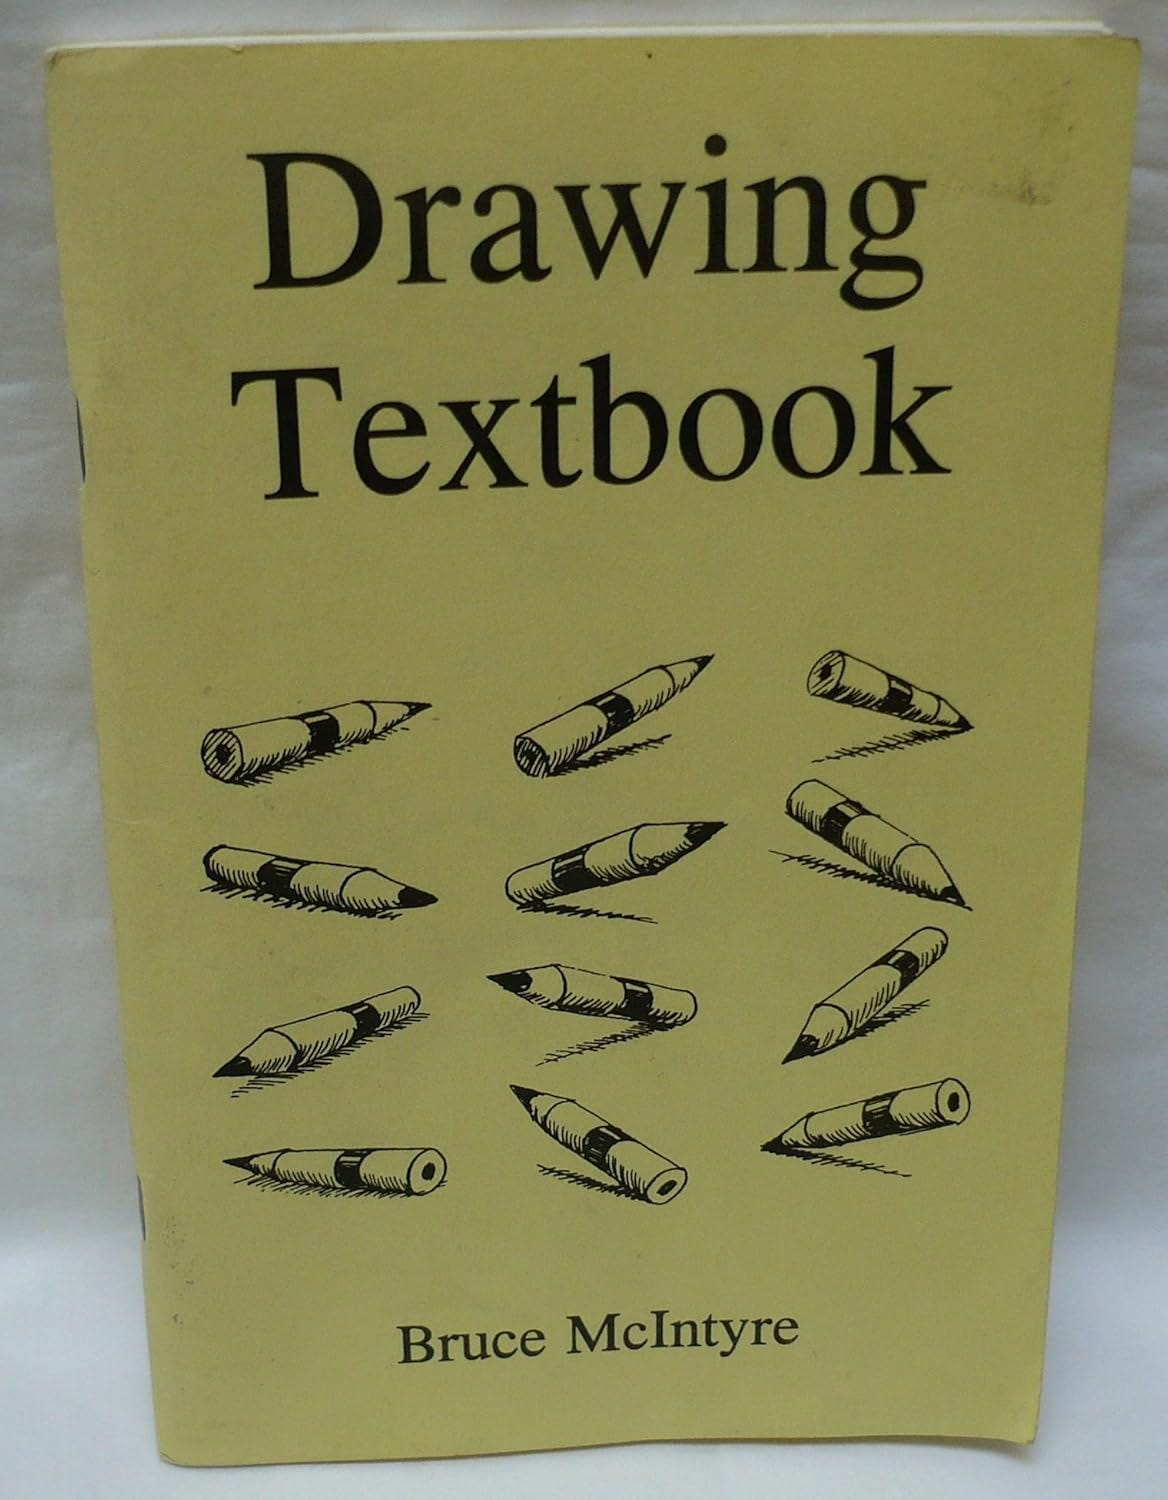
The Drawing Textbook - This book was created by a former Disney Cartoon Artist who drew for Disney in the 1930s! It’s charming and my kids really enjoyed working through all of the lessons over a semester.
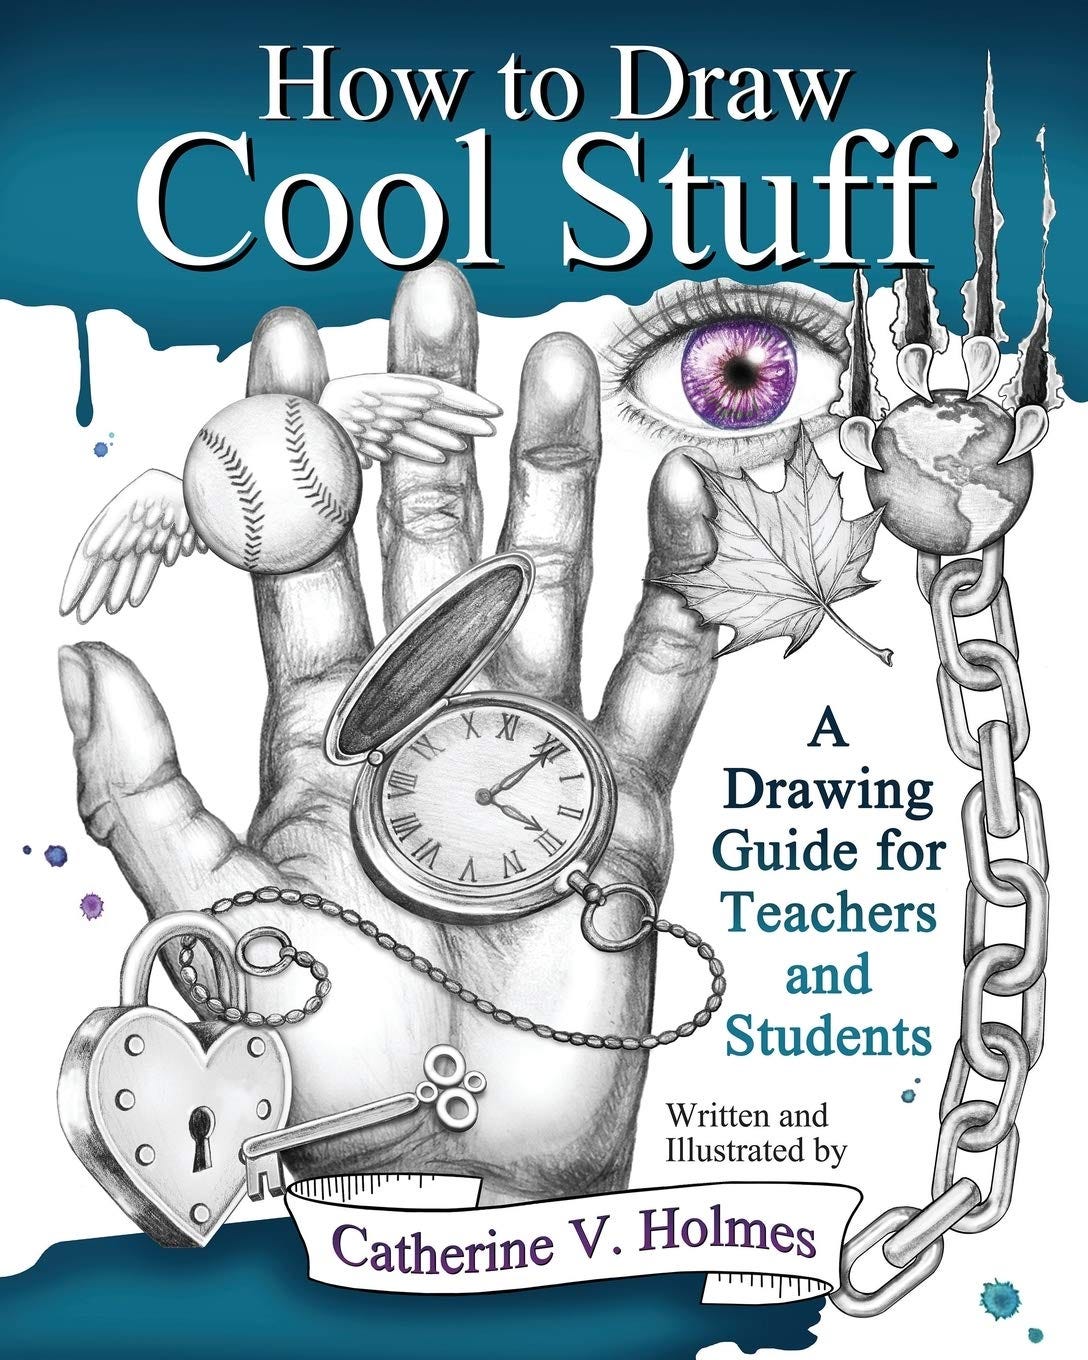
How to Draw Cool Stuff- This book covers the same basic elements of the Drawing Textbook but has a modern spin. It’s not as simple as the first, but with guidance, your upper elementary and middle school students can work through this book (as long as they read the directions!)
Ages: 14+
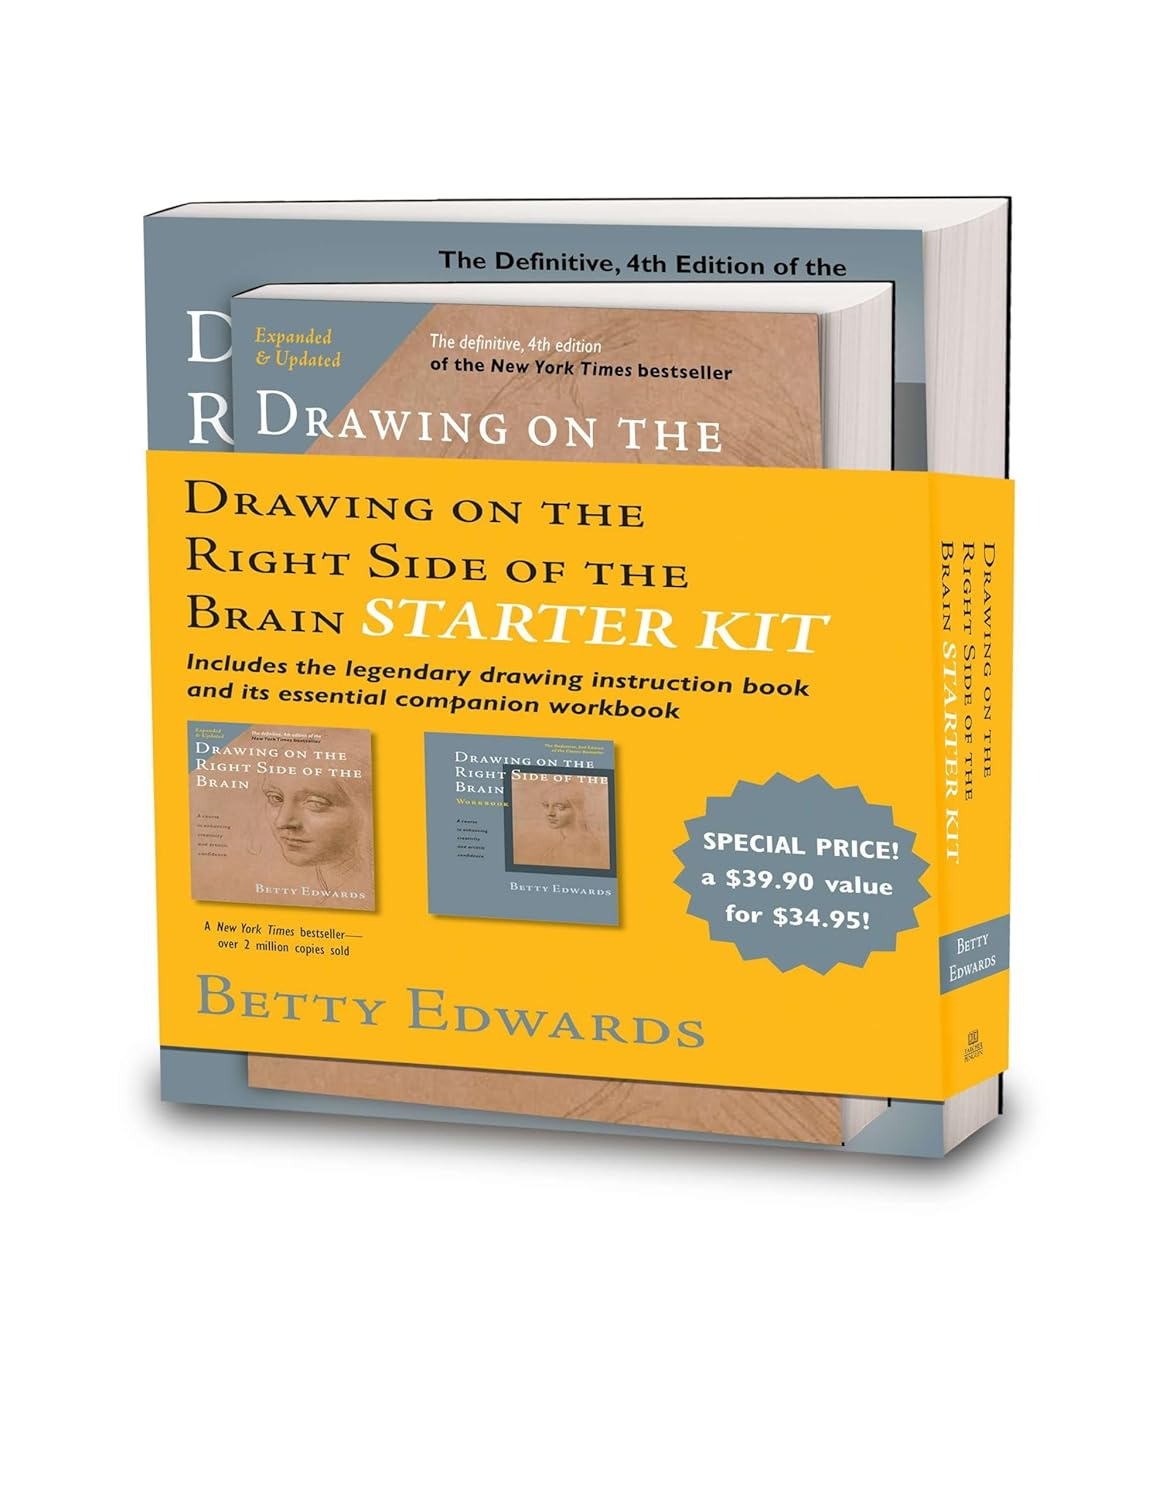
Drawing on the Right Side of the Brain by Betty Edwards

Drawing on the Right Side of the Brain Starter Kit (You could just get the book (above) but this is way more guided if you want an older child to go through it independently or if you just don’t want to make the picture frame guide. I wish I’d found this sooner)
Virtual Instructor Drawing Class (We haven’t taken this class, but he uses the book Drawing on the Right Side of the Brain as the foundation for the class. We will be taking the 25 Days to Better Drawing Class in the spring.)
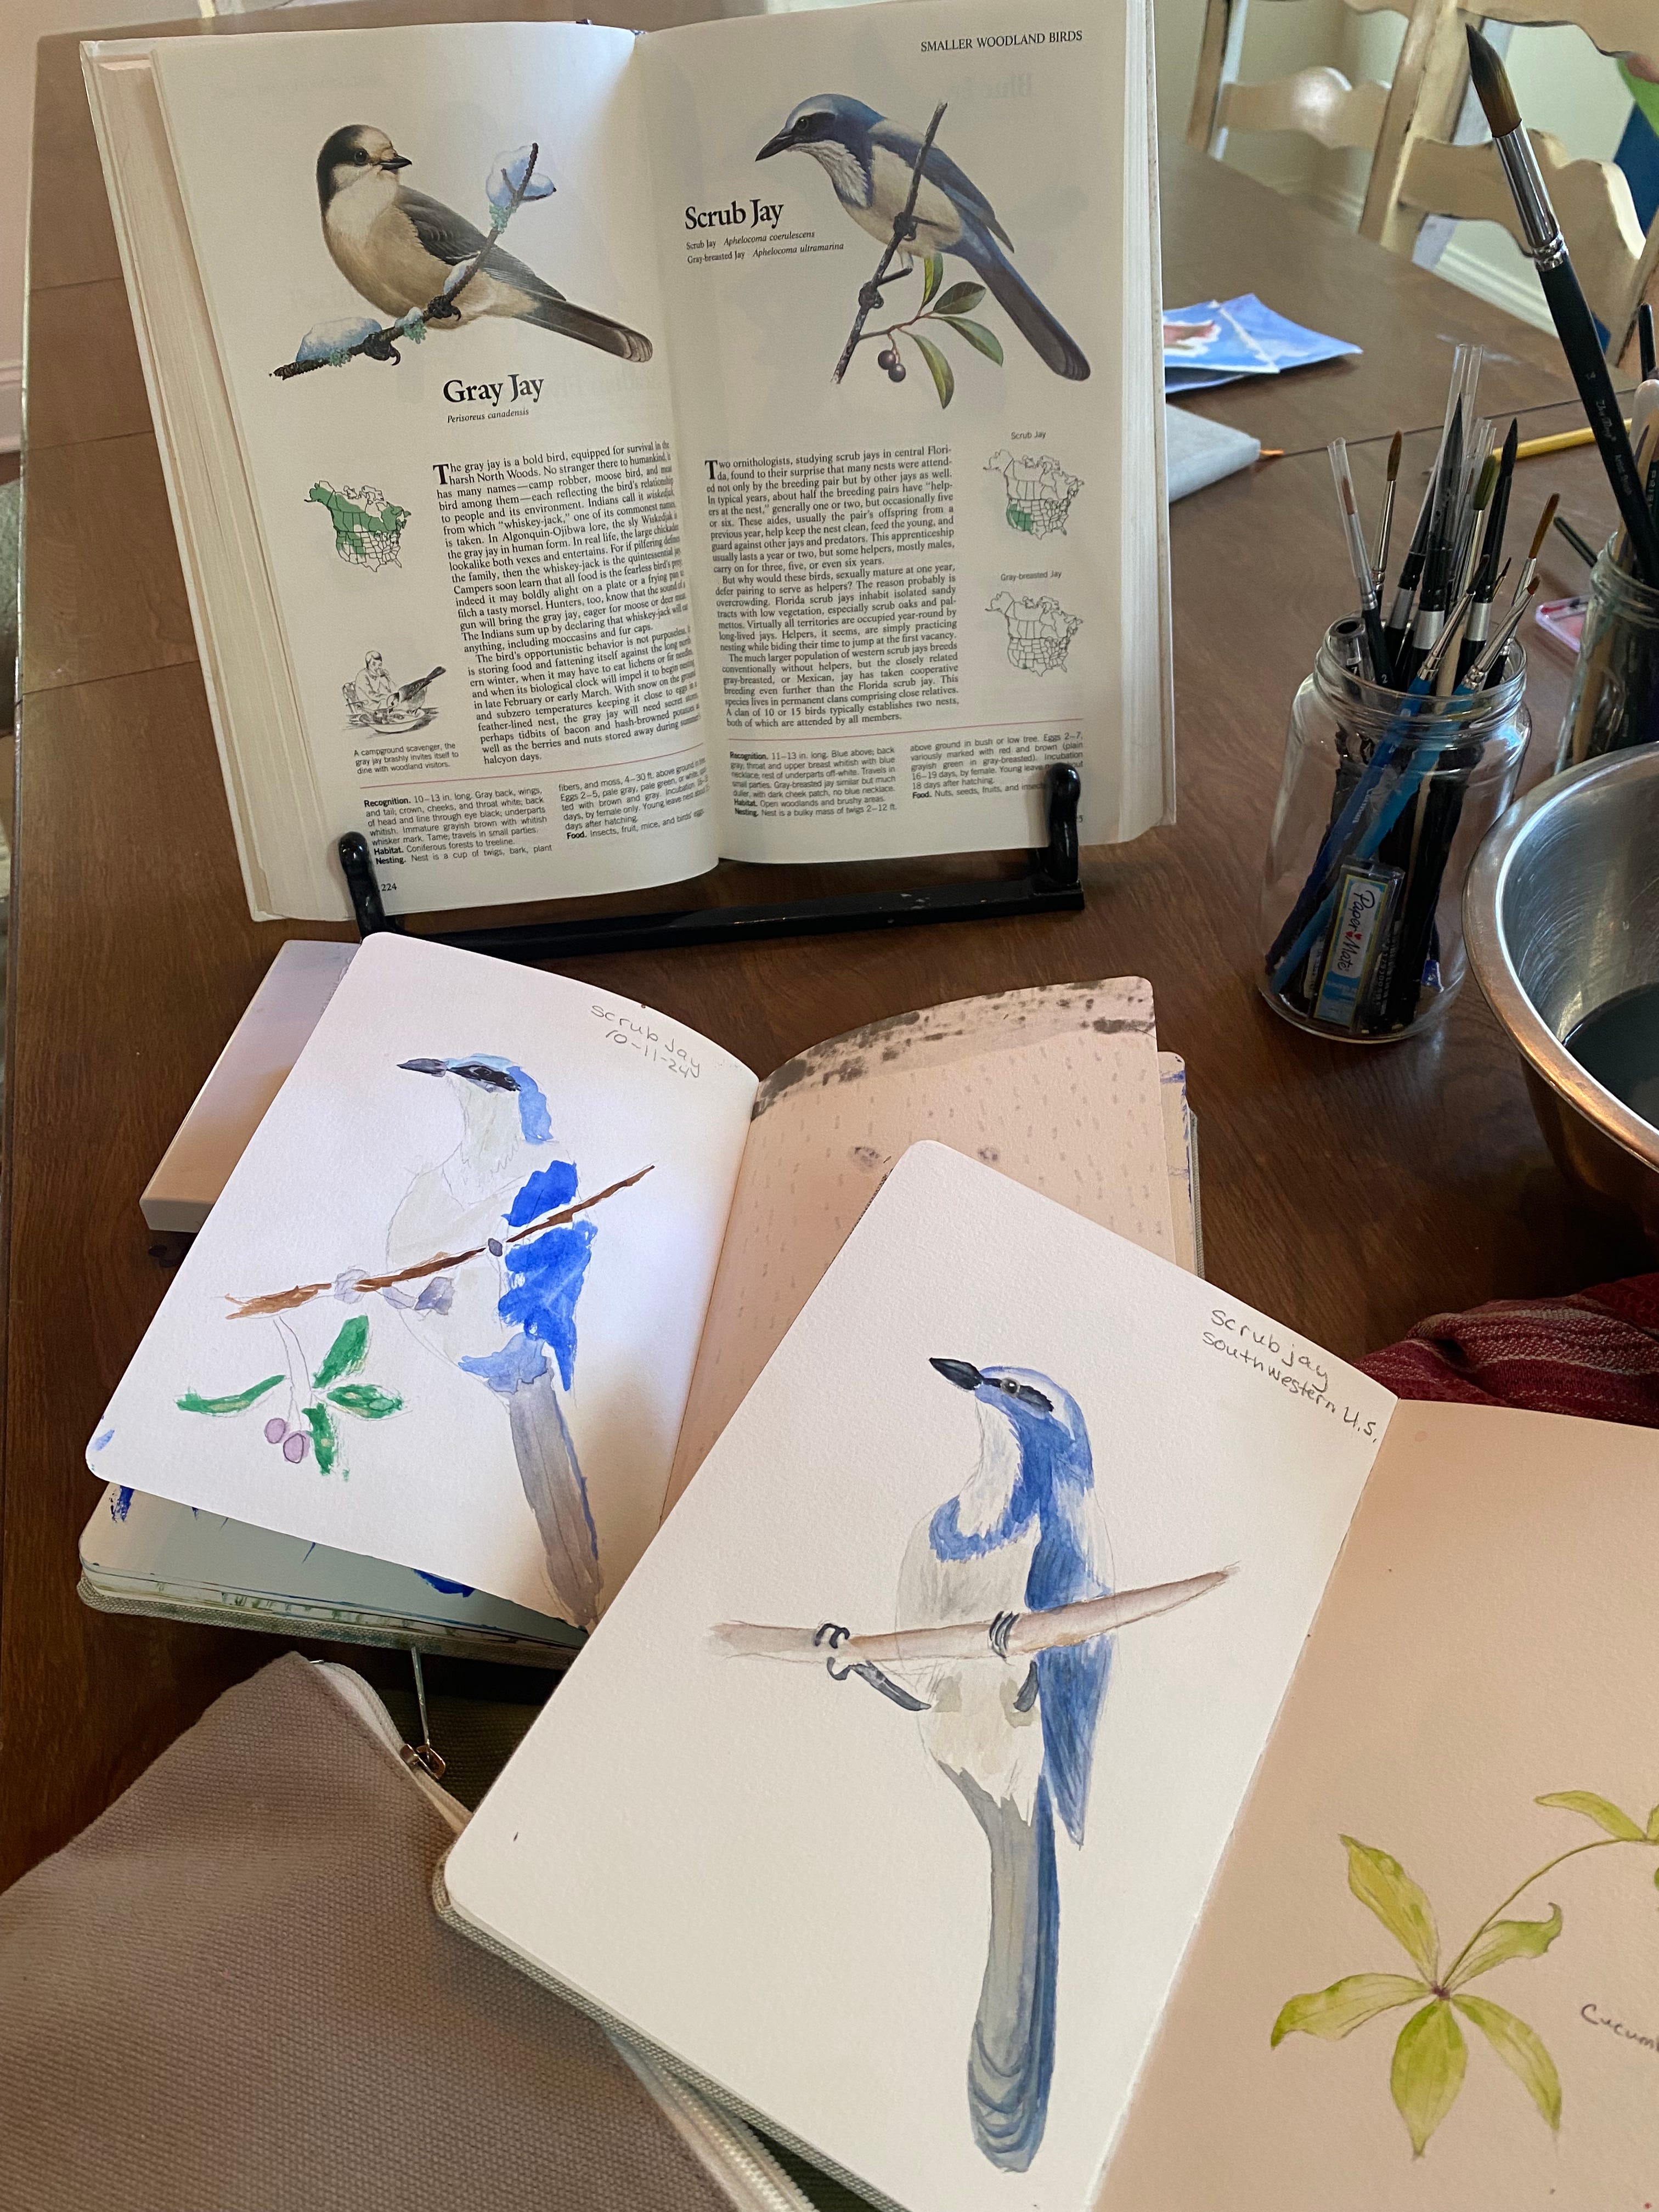
Watercolor Lessons
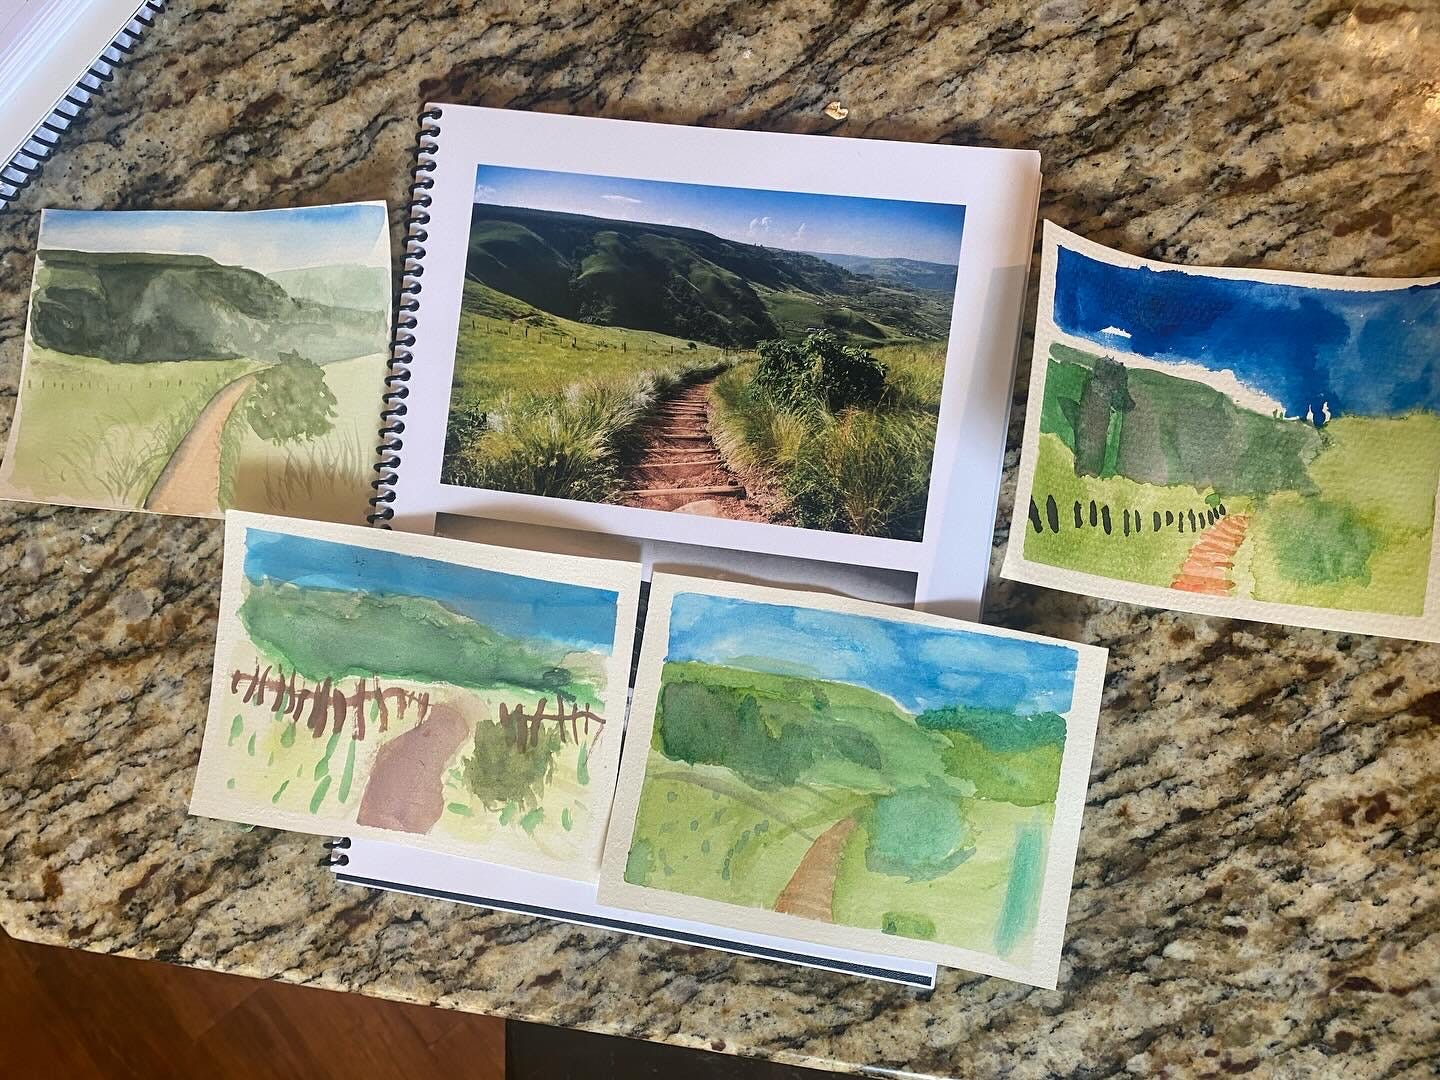
Watercolor is one of those things that pays off with consistency and when you start off being less than proficient, it can become frustrating to continue. But, that’s where Lily and Thistle Watercolor School comes to the rescue. Her videos are easy to follow and the projects are simple. Pro-tip: If you are going to do a project that requires tracing, do the tracing onto watercolor paper ahead of time for your younger students or your entire time block will be derailed by the amount of time it takes to simply trace the image so they can start painting. (You may notice that I don’t mention Brush Drawing. I don’t. I haven’t found one that helps students translate the brushwork into actually painting what they see. If you know of one, please leave a link.)
I signed up for Lily and Thistle’s Lifetime Membership a few years ago. We’ve used it every year since. I recommend starting with her Watercolor Foundations Course. Just go straight through the course one per week until you get through it. Some lessons will hit and some will miss but you will be learning together and your kids will be so proud of their creations! Pro tip: I found it went best when I watched the video on my own before sitting down with the kids. I know this isn’t always possible, but when I did it I was able to help my kids with their work instead of trying to figure out what we were supposed to be doing in real time.
Keep in mind that learning to draw and paint is a lifelong endeavor, we hope to give our children the tools they need so that they can grow over time. It’s not a one and done fix. Here a little. There a little and pretty soon they can get somewhere!
The List:
Under 5:
6 and older:
Watercolor paints
Paint brushes
Watercolor paper in bulk
Cutting tool to cut them into 1/4 for your projects
Box to store all your paint supplies in so that they are in one place
Watercolor nature notebook
That’s a wrap! Please comment below with your favorite resource for homeschool art instruction! I’d love to know what works for you or if you’ve used any of the resources I’ve mentioned!!
*****
If you want to be effective with your Nature Study work,
check out my Nature Study Hacking Guides at www.naturestudyhacking.com.
Learn how to get outside and use those lovely nature journals.
Thankyou. This is a wonderful read. I am going to take notes and read it again over the Easter weekend. There's far too much to take in in one read because it makes little fireworks go off in my brain!