


Teaching the Art of Illuminated Letters
A Step-by-Step Guide for Inspiring Young Artists

This year we are studying the Renaissance and Reformation and so I decided to teach Illuminated Lettering for our art lessons so that we could 1. gain sympathy with the beauty and craftsmanship of illuminated manuscripts 2. so my children can have tools for creating their own illuminated pages from quotes, poems, songs they are learning for school. It’s much easier to assign children to “create an illumination on a passage you read” if they know what I’m talking about. So, here you will find the lessons and resources I used to teach an introduction to this beautiful artform.

The categories are broken into four groups of elements. We first looked at the lettering (and always came back to lettering), then we spent a few weeks on Celtic Knots, next we looked at border designs and fillers, and finally we tried our hands at calligraphy.
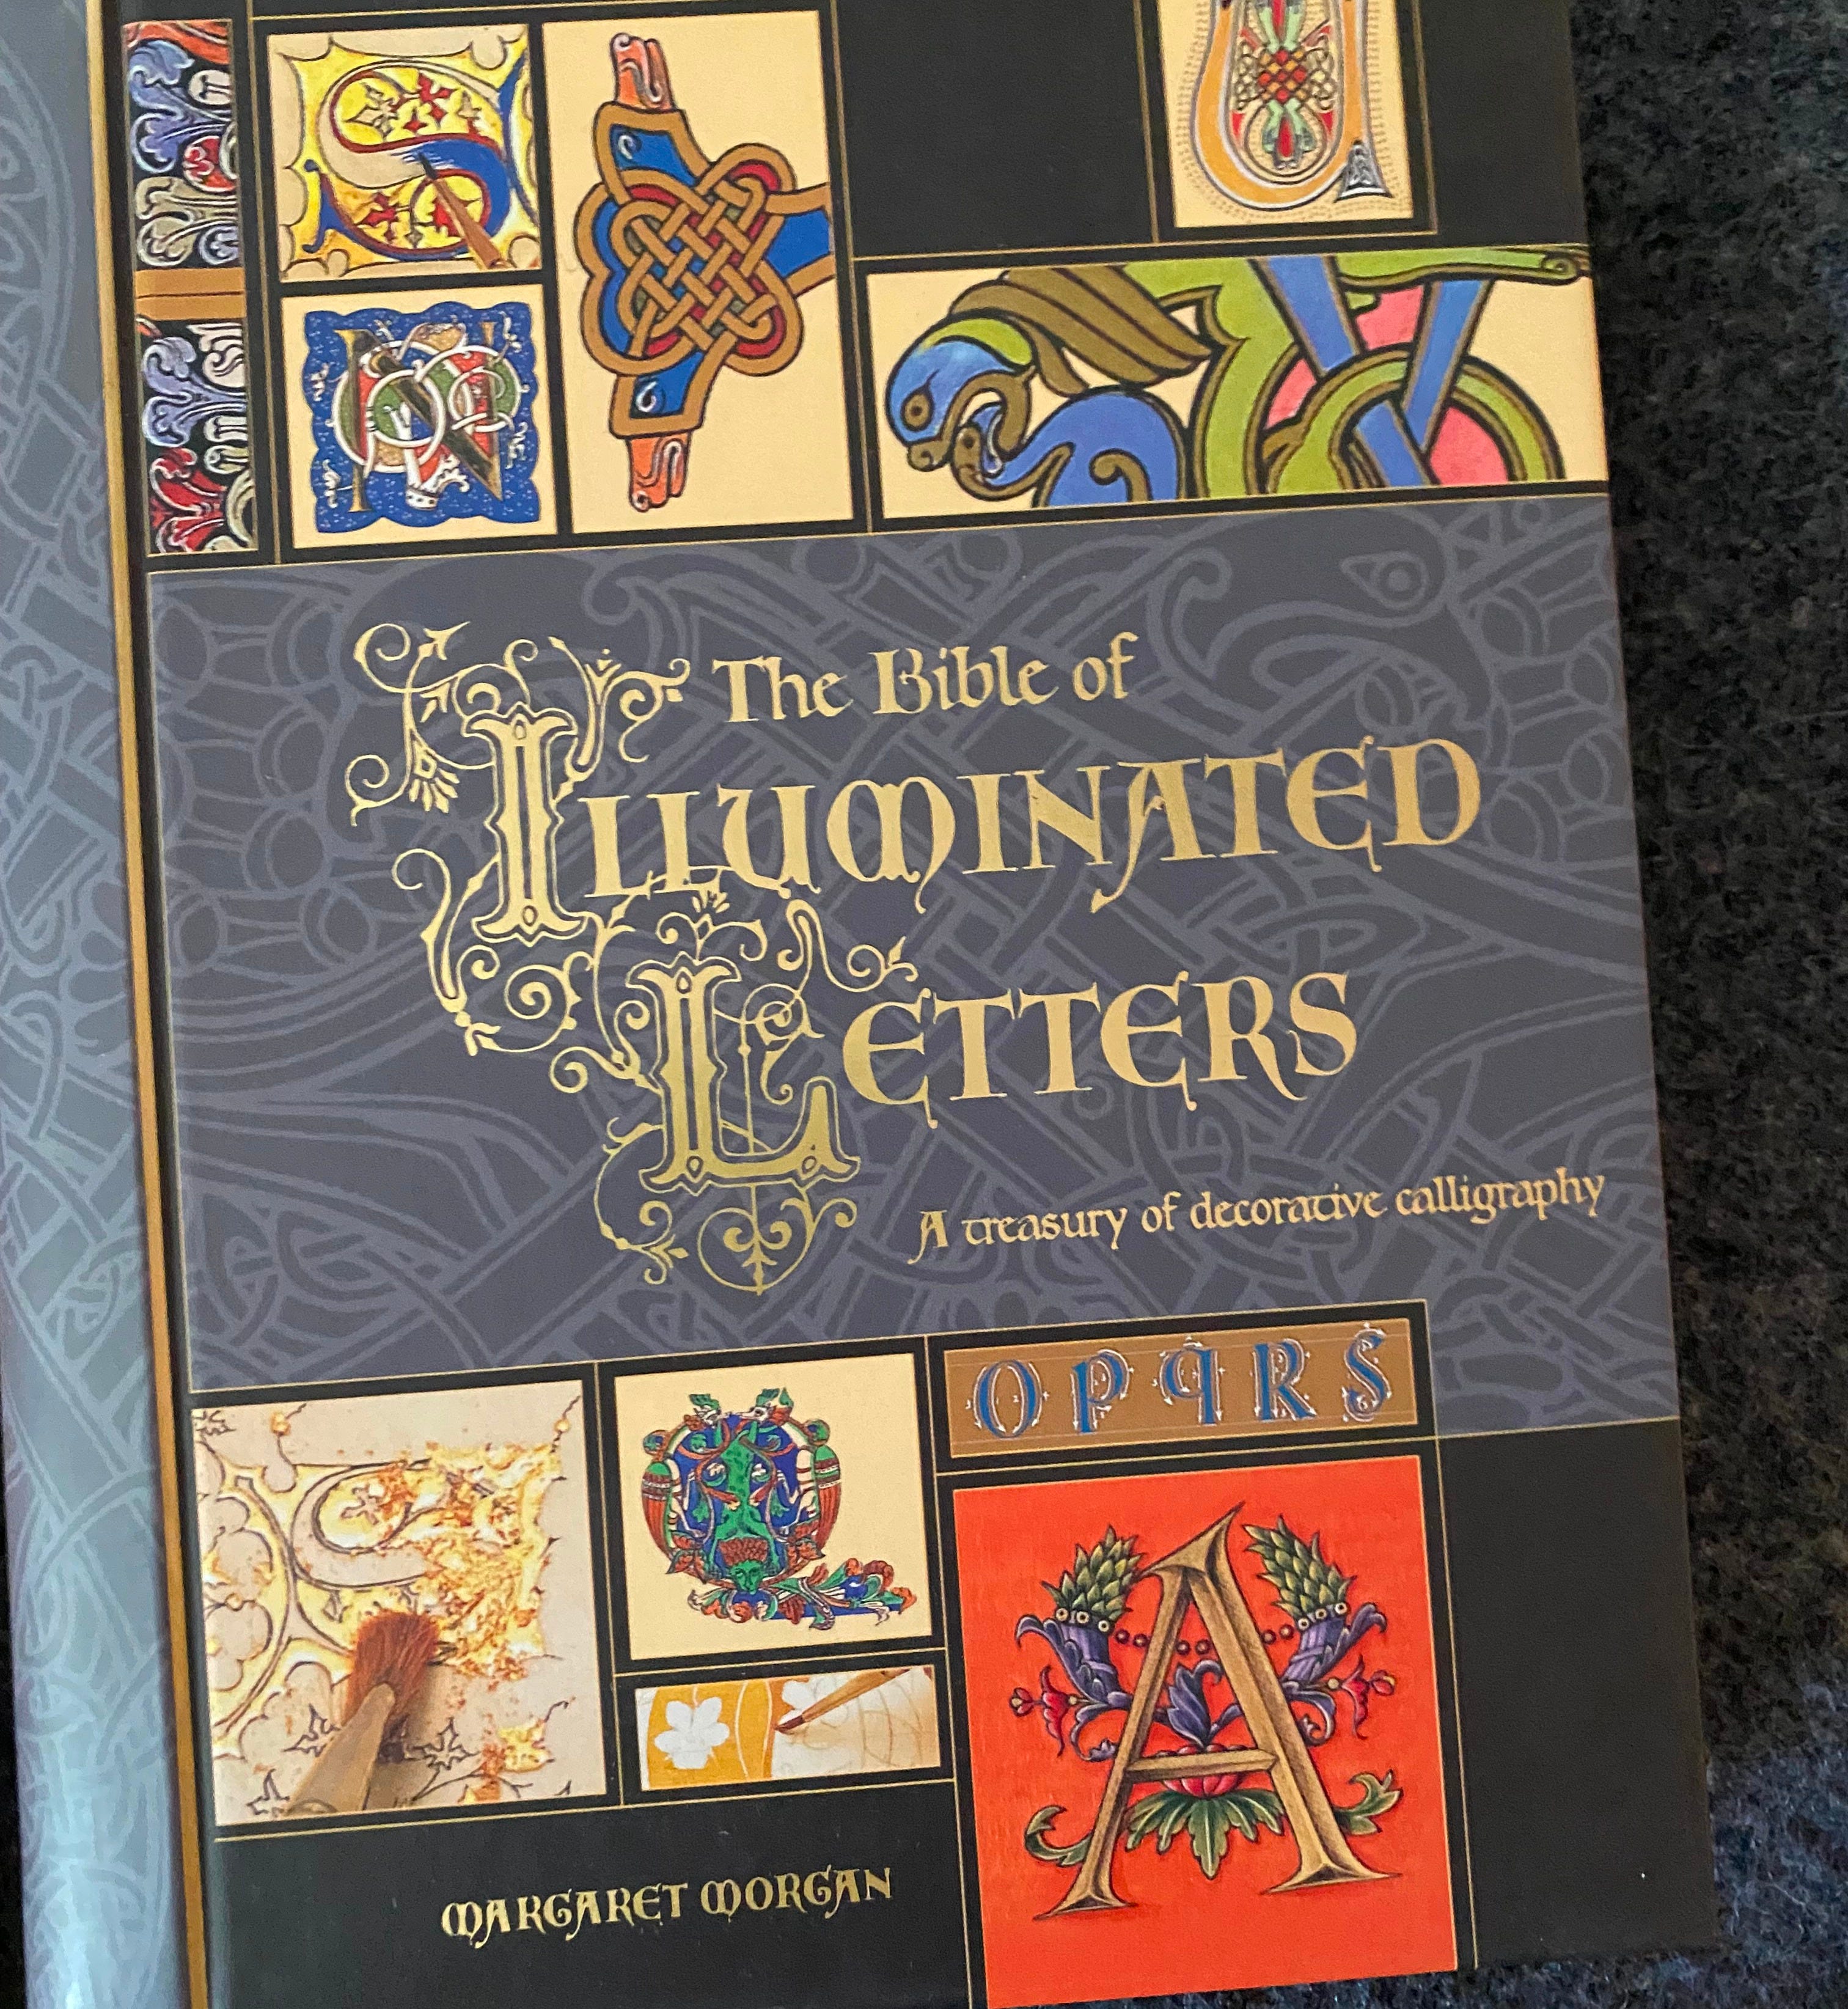
Resources: The Bible of Illuminated Letters: A Treasury of Decorative Calligraphy by Margaret Morgan. This book offers an overview of all the types of elements involved in illuminated lettering. I used it as out spine and then researched the various elements I was interested in teaching. YouTube proved to be a helpful tool in finding out how to actually create some of these borders, flourishes, and knots. My kids can use it as a reference when they are illuminating their poems or passages from books. It’s handy as a resource for mom to teach and children to keep learning.
Lettering
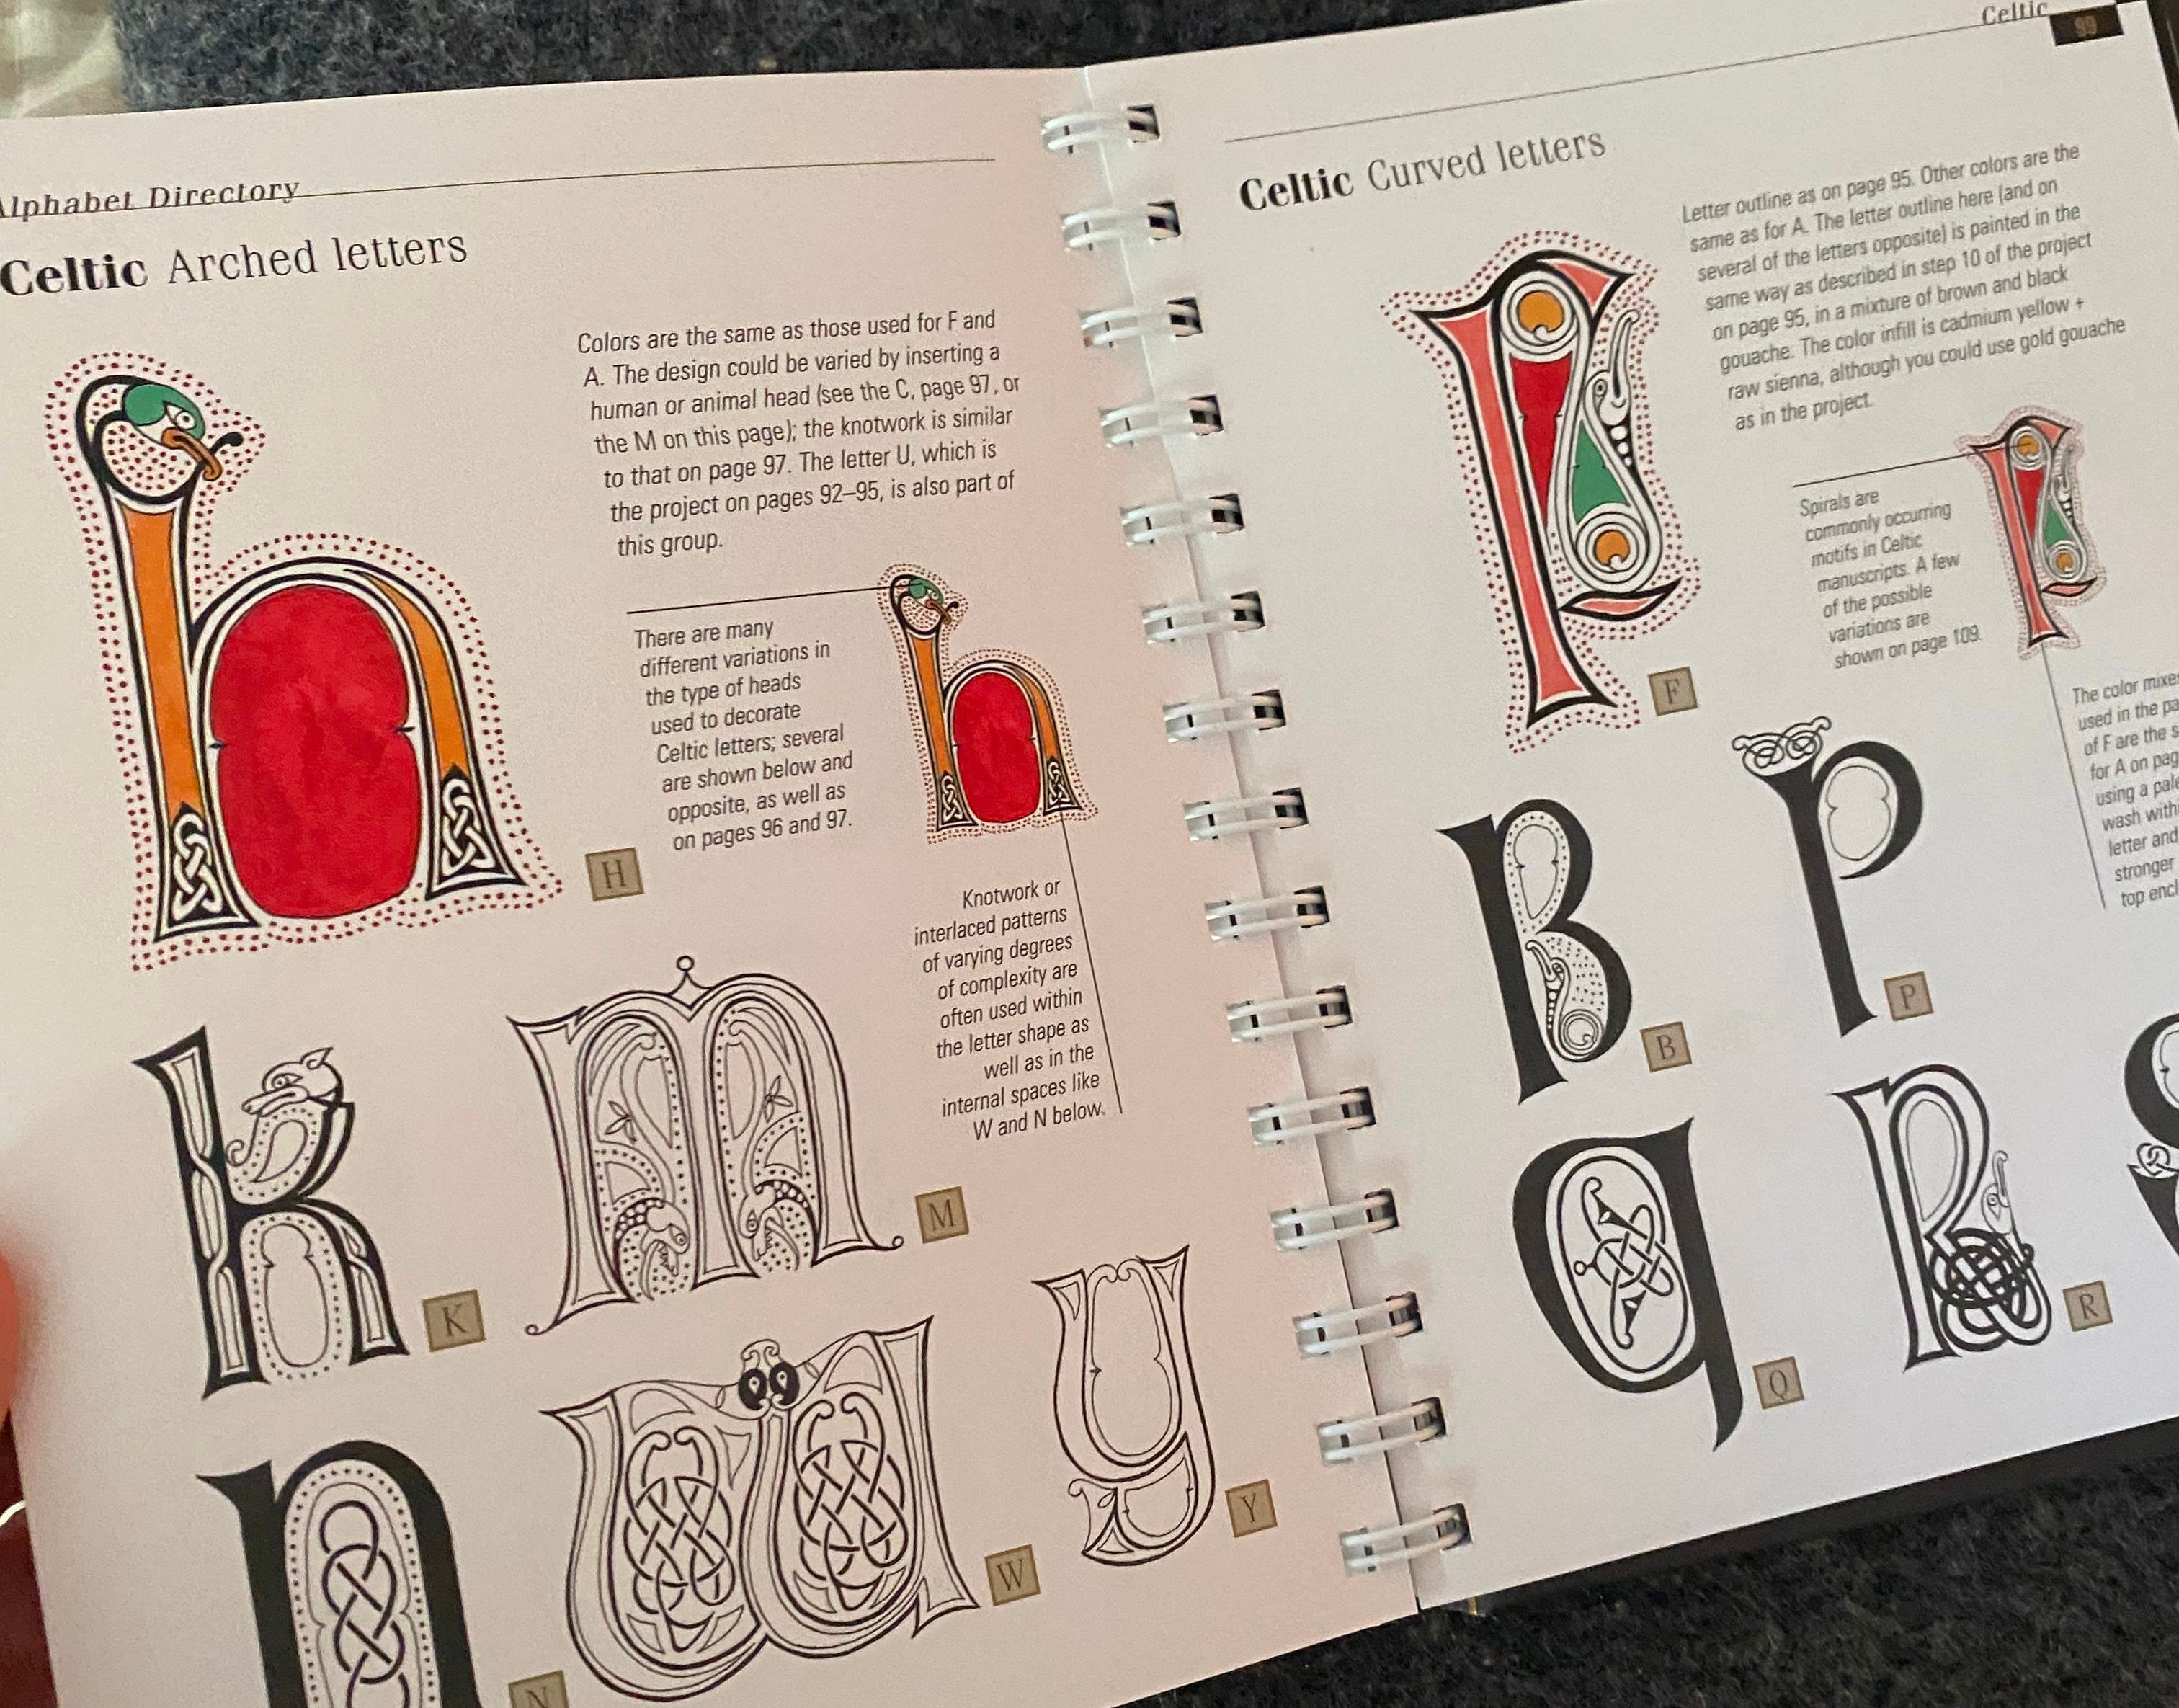
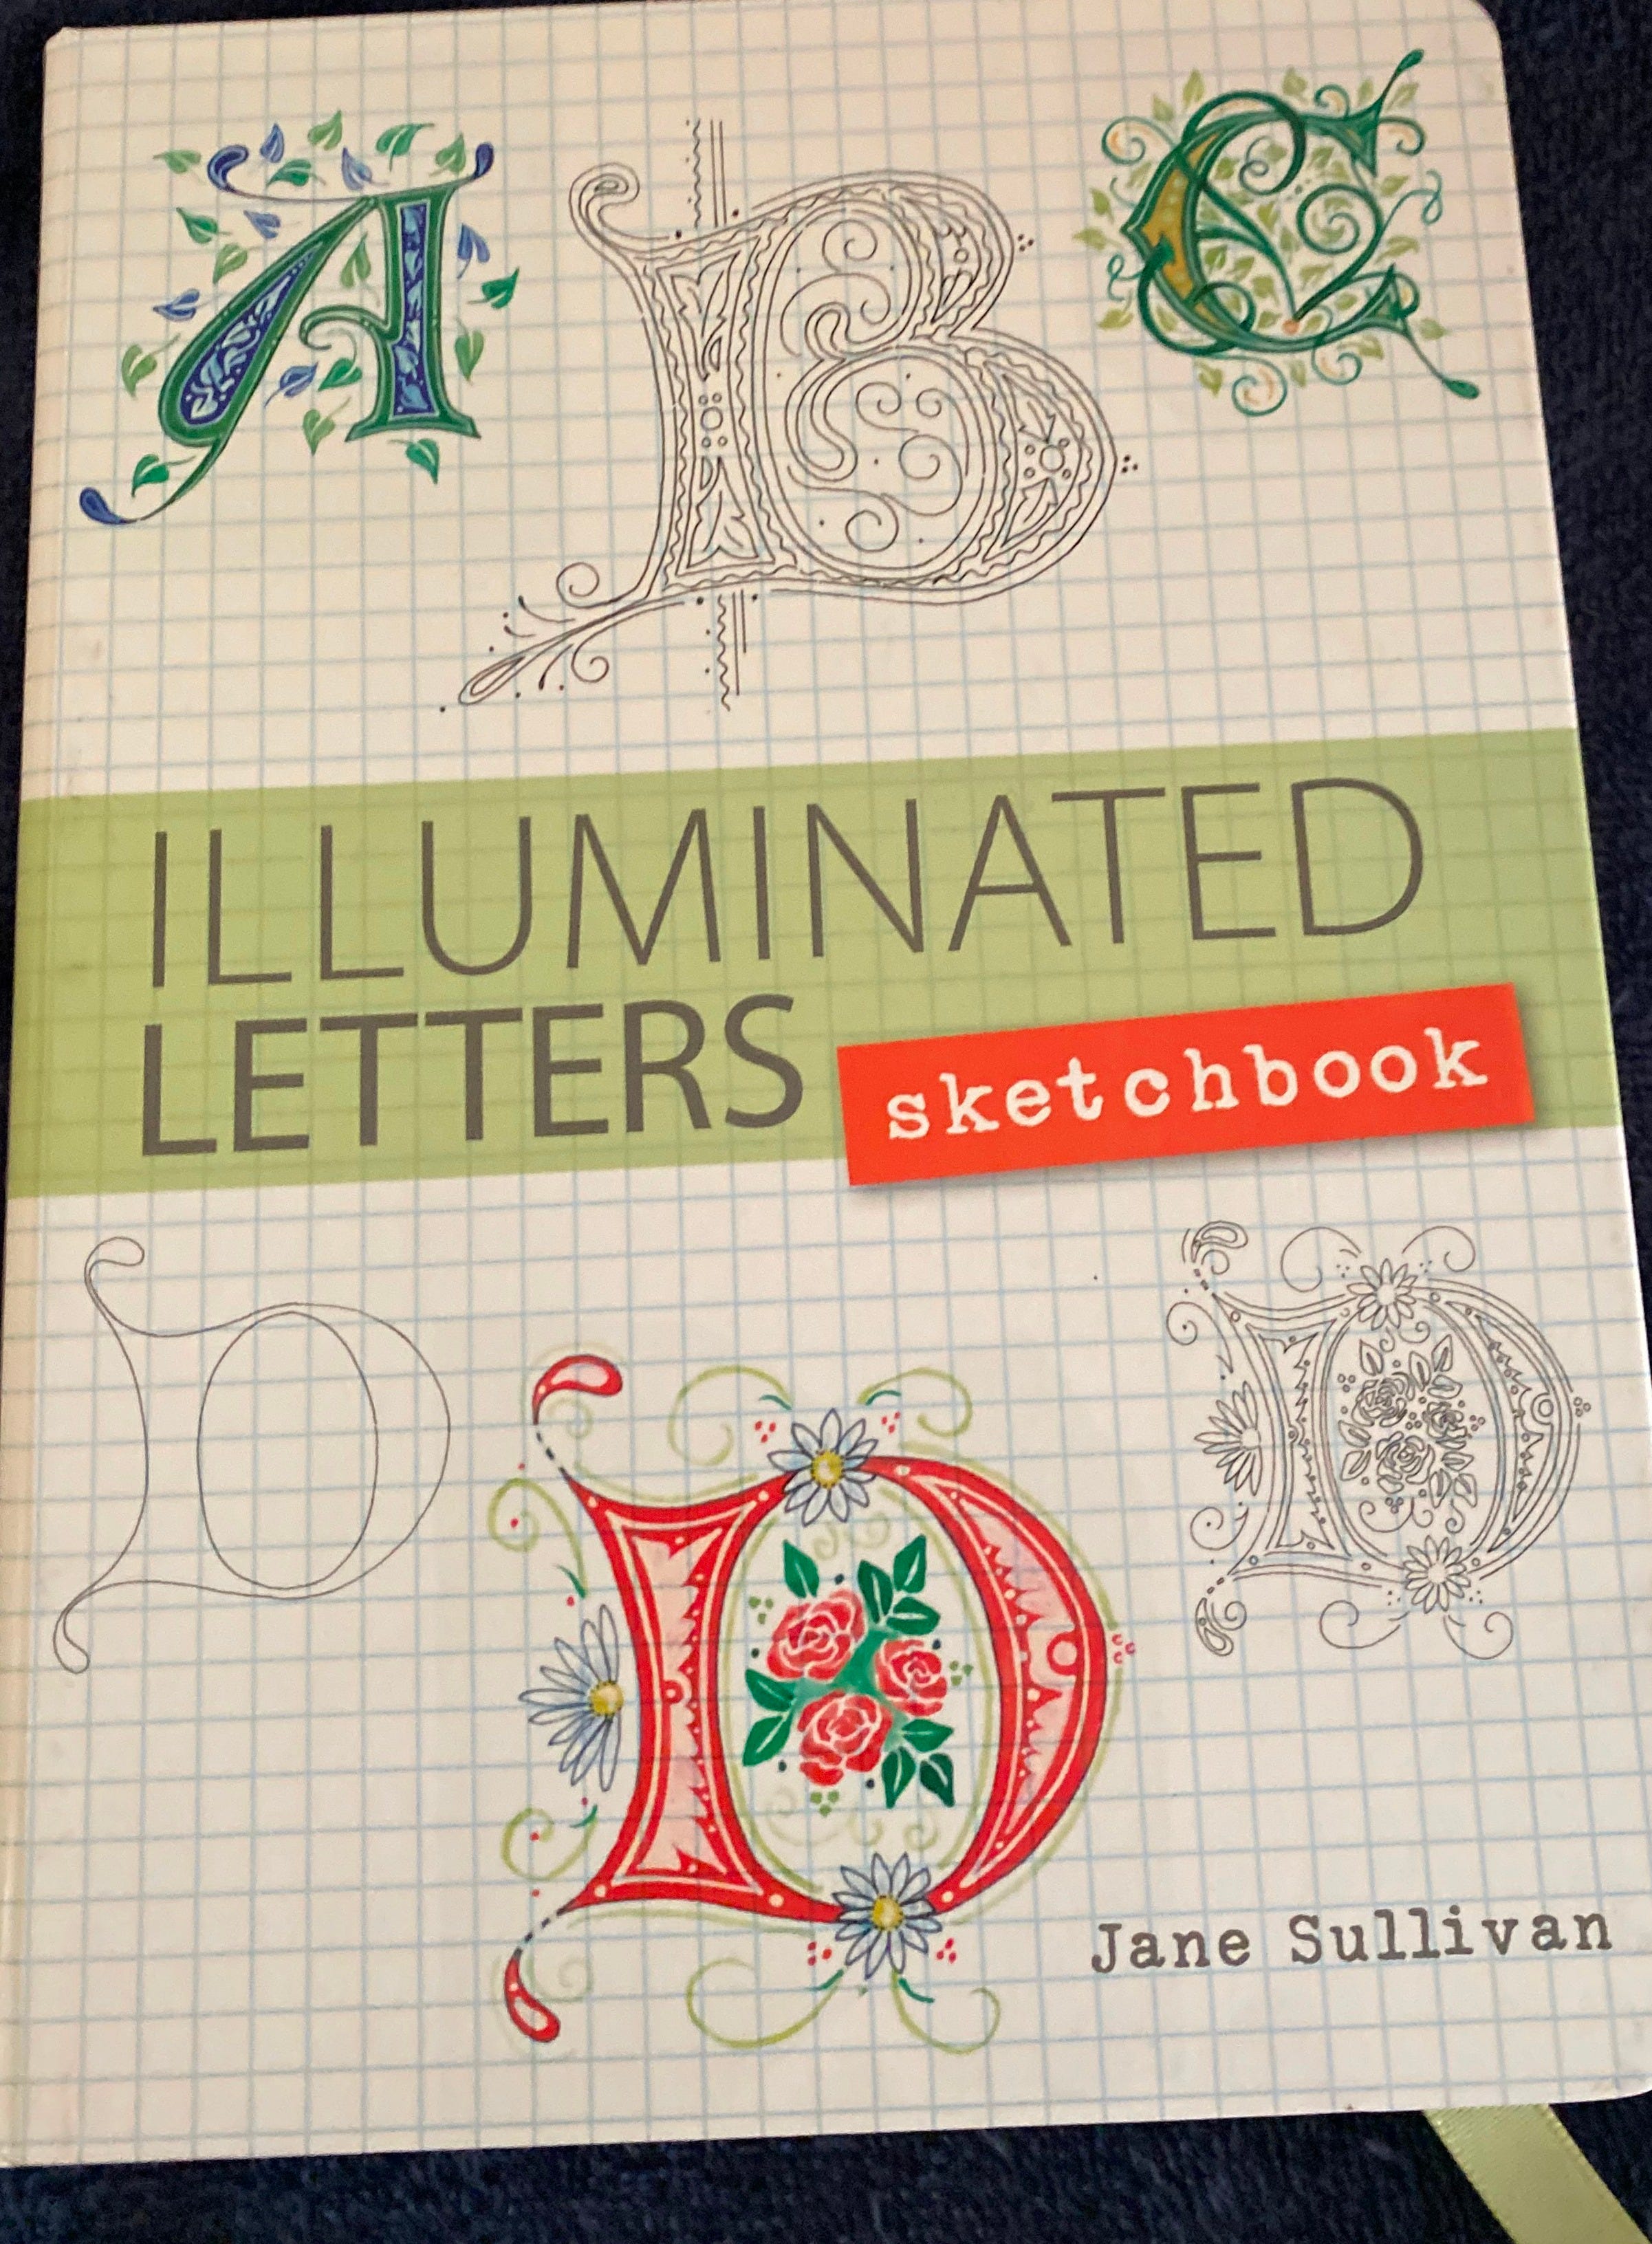
Lettering is the first lesson because we want to take children from what they know —the alphabet—into a world that is new—the art of decorating the alphabet. For our introductory lesson I just let the kids play and look at many images, books, and illuminations just to get our bearings. I did a brief lesson on the history of illumination and I showed examples through books we own and some images I pulled up on the iPad. Then, using the Illuminated Letters Sketchbook I had them copy a letter from the book.
Imitation is the basic foundational principle of any new medium. You can’t create something from your head if you don’t have a library of ideas to draw from. As they copied the illuminated letters, it allowed them to notice the details from each of the letters more deeply. You could just go through the Illuminated Letters Sketchbook and have a solid foundation, but of course, I was curious so we kept going deeper because I wanted to point out the various elements within the letters.
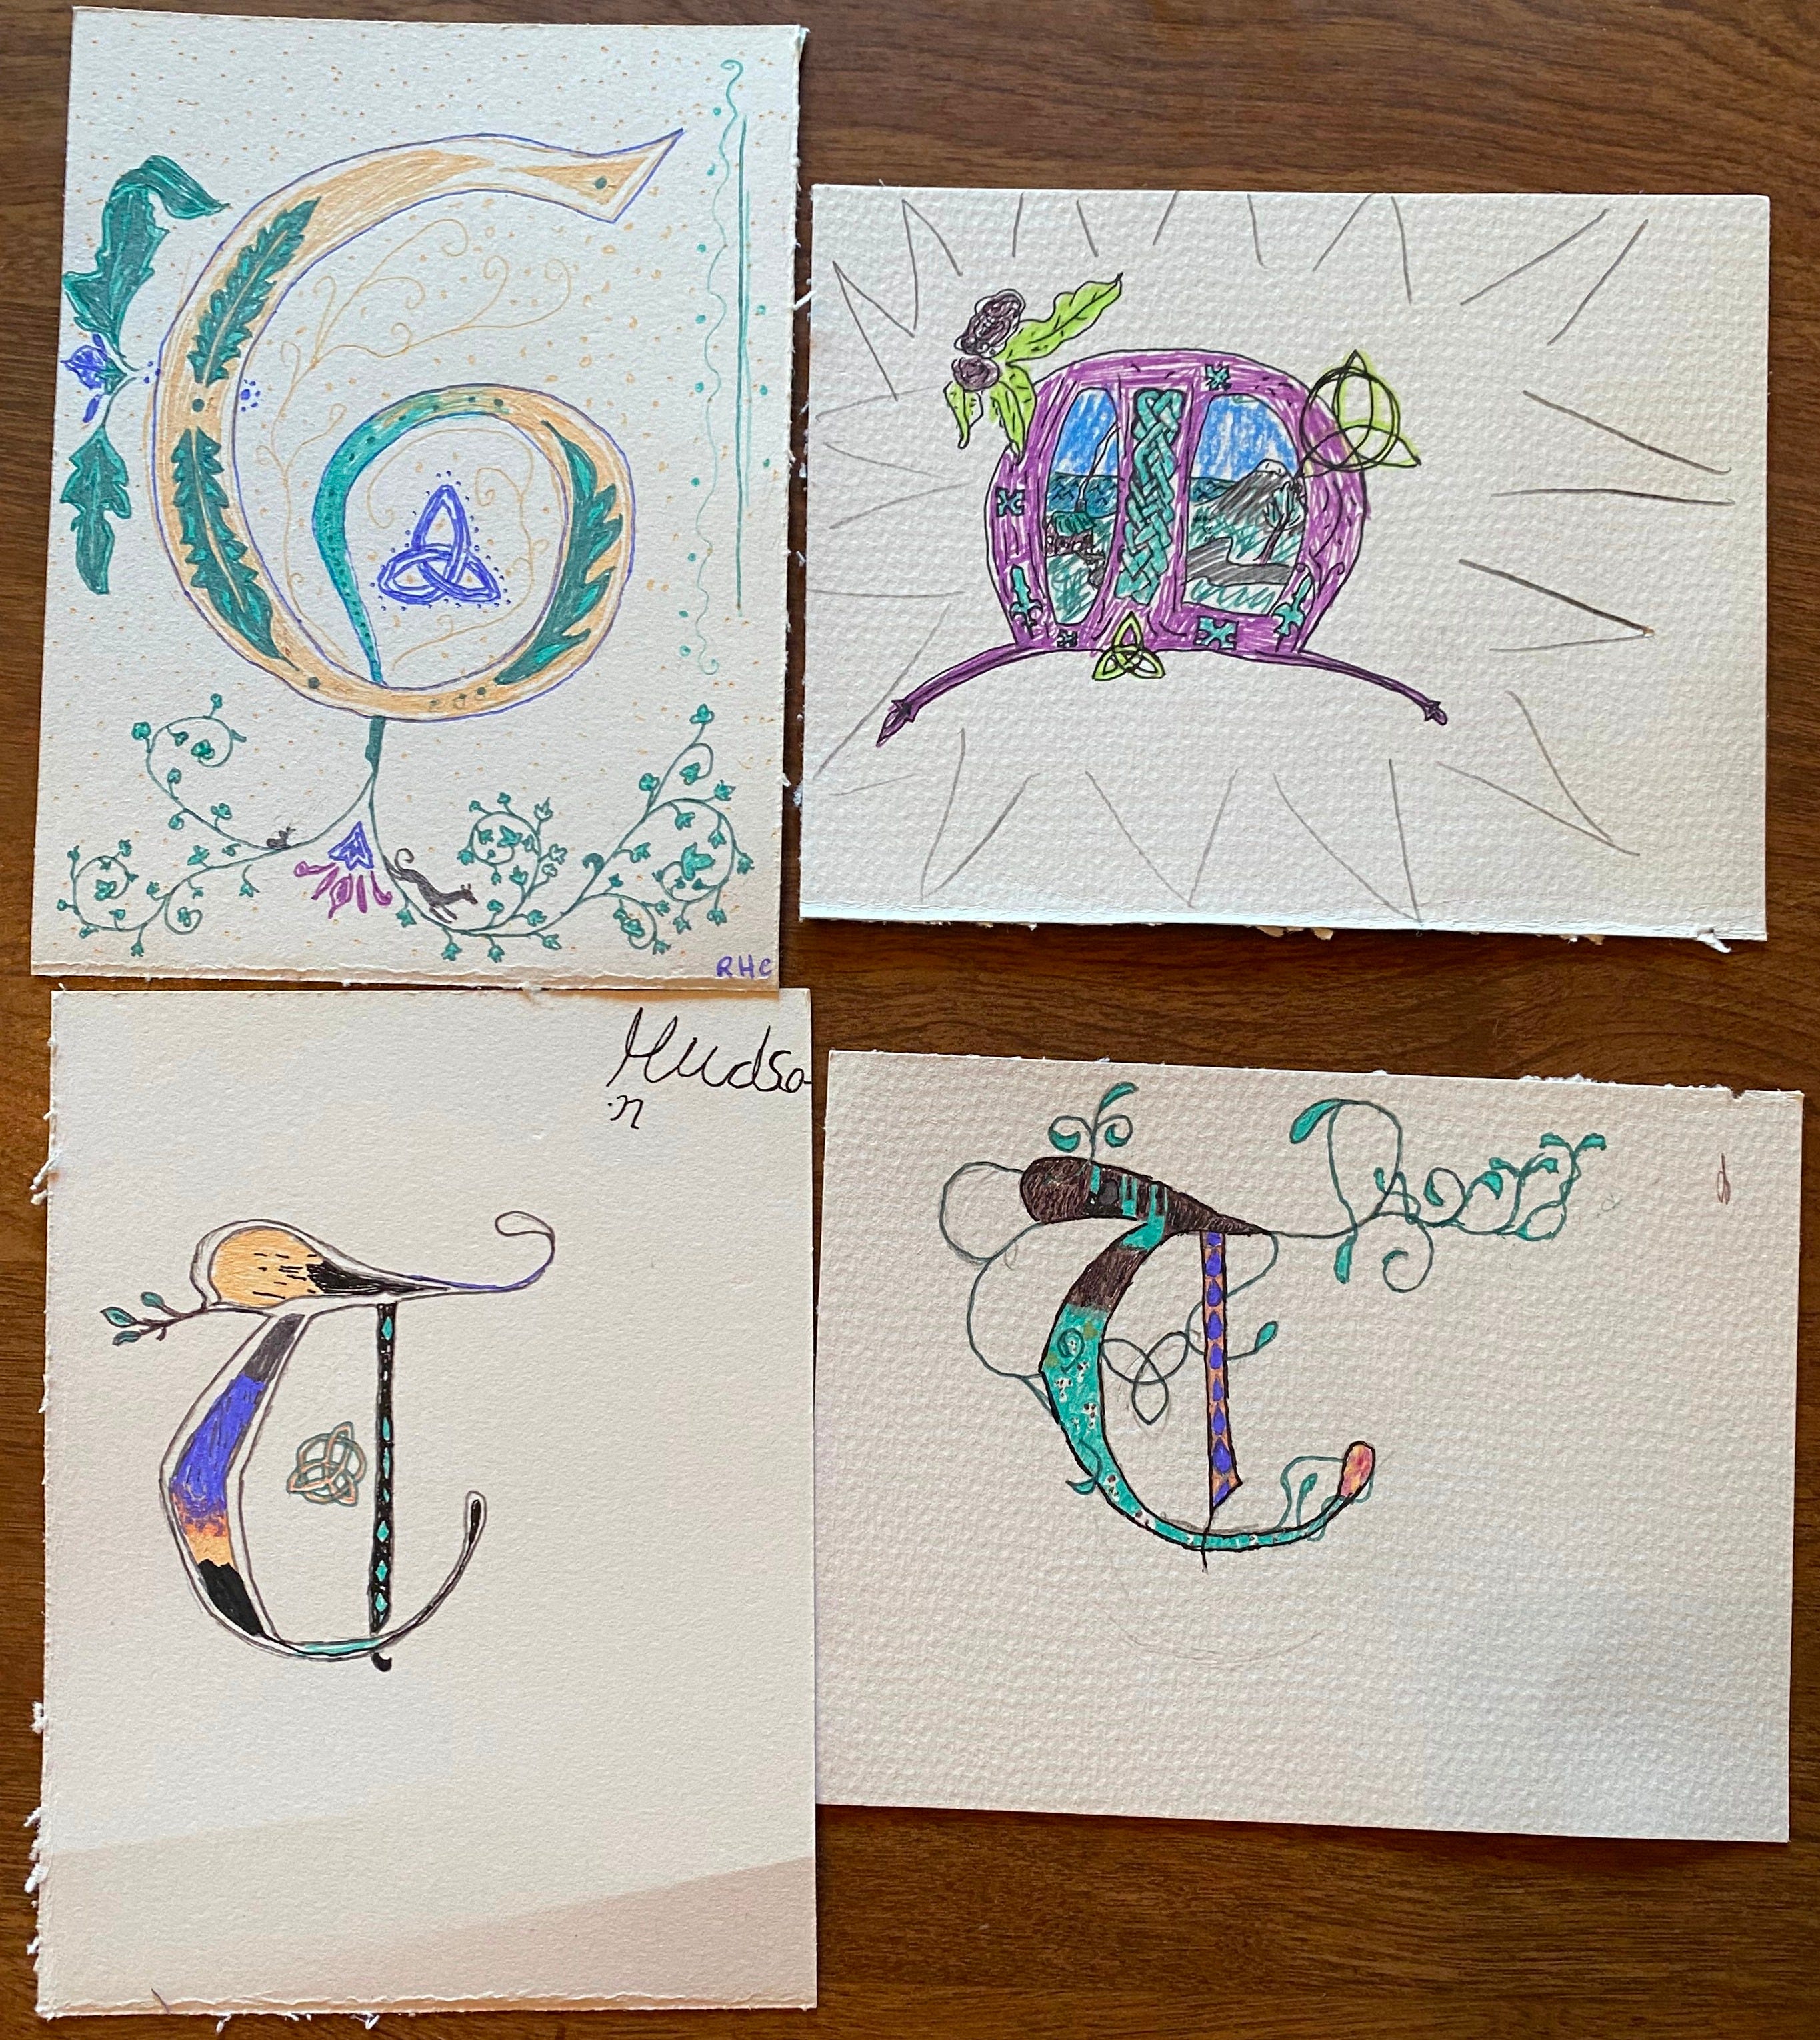
After this lesson, my kids were hooked. They were creating illuminated art for their friends with friend’s name in illuminated letters. (It would make a great Christmas gift.)
Resources: The Bible of Illuminated Letters: A Treasury of Decorative Calligraphy by Margaret Morgan
Illuminated Letters Sketchbook (Interactive Journal, Notebook) by Jane Sullivan
Celtic Knots
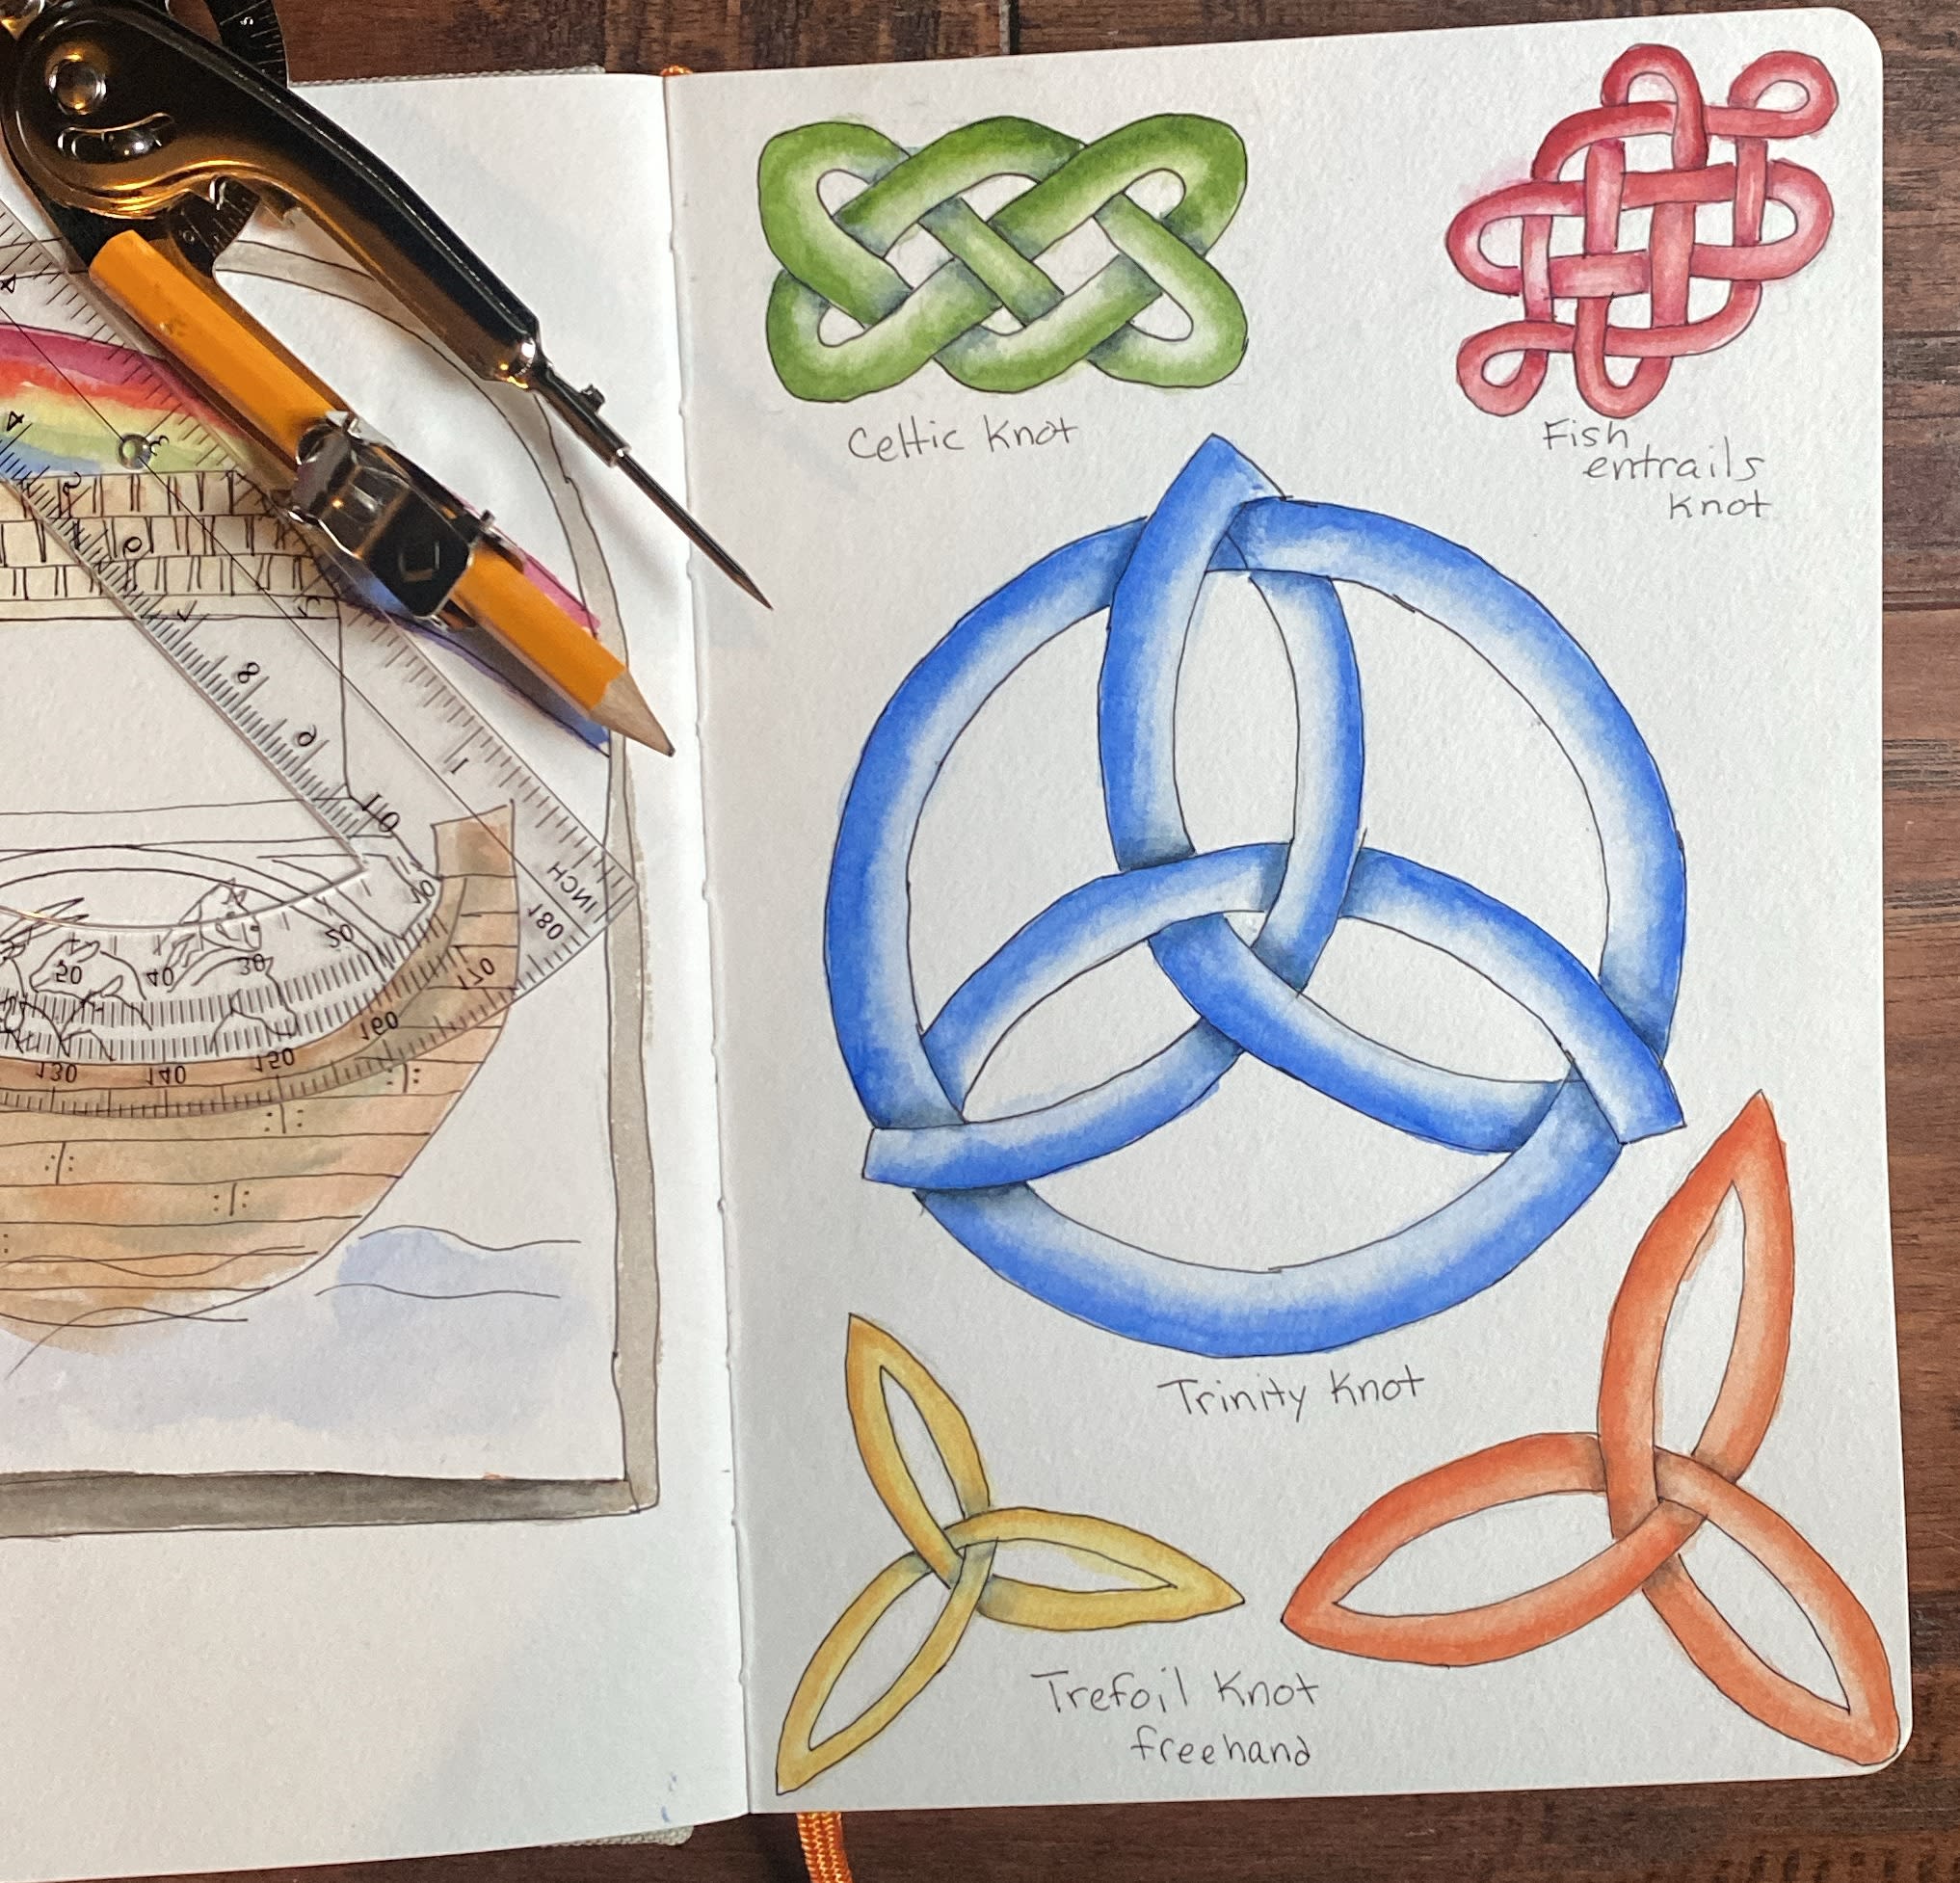
After we did our fun day of playing with letters and making our illuminations, I started teaching the various elements folded into illuminated letters. Since our church uses the Trinity Knot (pictured below in blue) I thought it would be fun to learn how to create it. But making knots is a whole artform study in itself.
I recommend David Nicholls YouTube channel because he teaches Illuminated Lettering in the UK and his videos are short, sweet and to the point. I went through the progression as he teaches it by starting with the Introduction to Celtic Design. This is the exact video I watched, then I created the design myself a few times and taught it to my co-op class (on a whiteboard without the video). Again, after teaching these I found that that most of the children were doodling all week adding Celtic Knot borders to their sermon notes, narration pages, and random scraps of paper.
In the next class I taught them how to do the “fish entrails” knot by using this video (again, I watched it and then taught it on a whiteboard):
After the fish entrails knot, I taught them the trefoil and trinity knots by using this video and the freehand video after it. You start to realize that you are really teaching geometry in a sneaky way when you start getting into making shapes even and creating equilateral triangles. We had so much fun! Again the doodling brought these knots into our everyday and became apart of them. It’s SOOO simple and fun.
Finally, we brought the letters and the knots together in class where I showed them how to use what they’d learned with knots to add them to their pictures. I did this by bringing back up images with knots woven into the letters or used as a space filler (as you can see in the Letter M creation above.
I could have kept teaching these knots because they were so much fun, but I wanted to move on to border designs so that they could have that resource in their repertoire as well.
Resources: Protractor and compass class set (for straight lines and perfect circles)
Borders and Fillers
Borders and space fillers are other important elements of illuminated letters and also an excellent way to study the art of doodling.
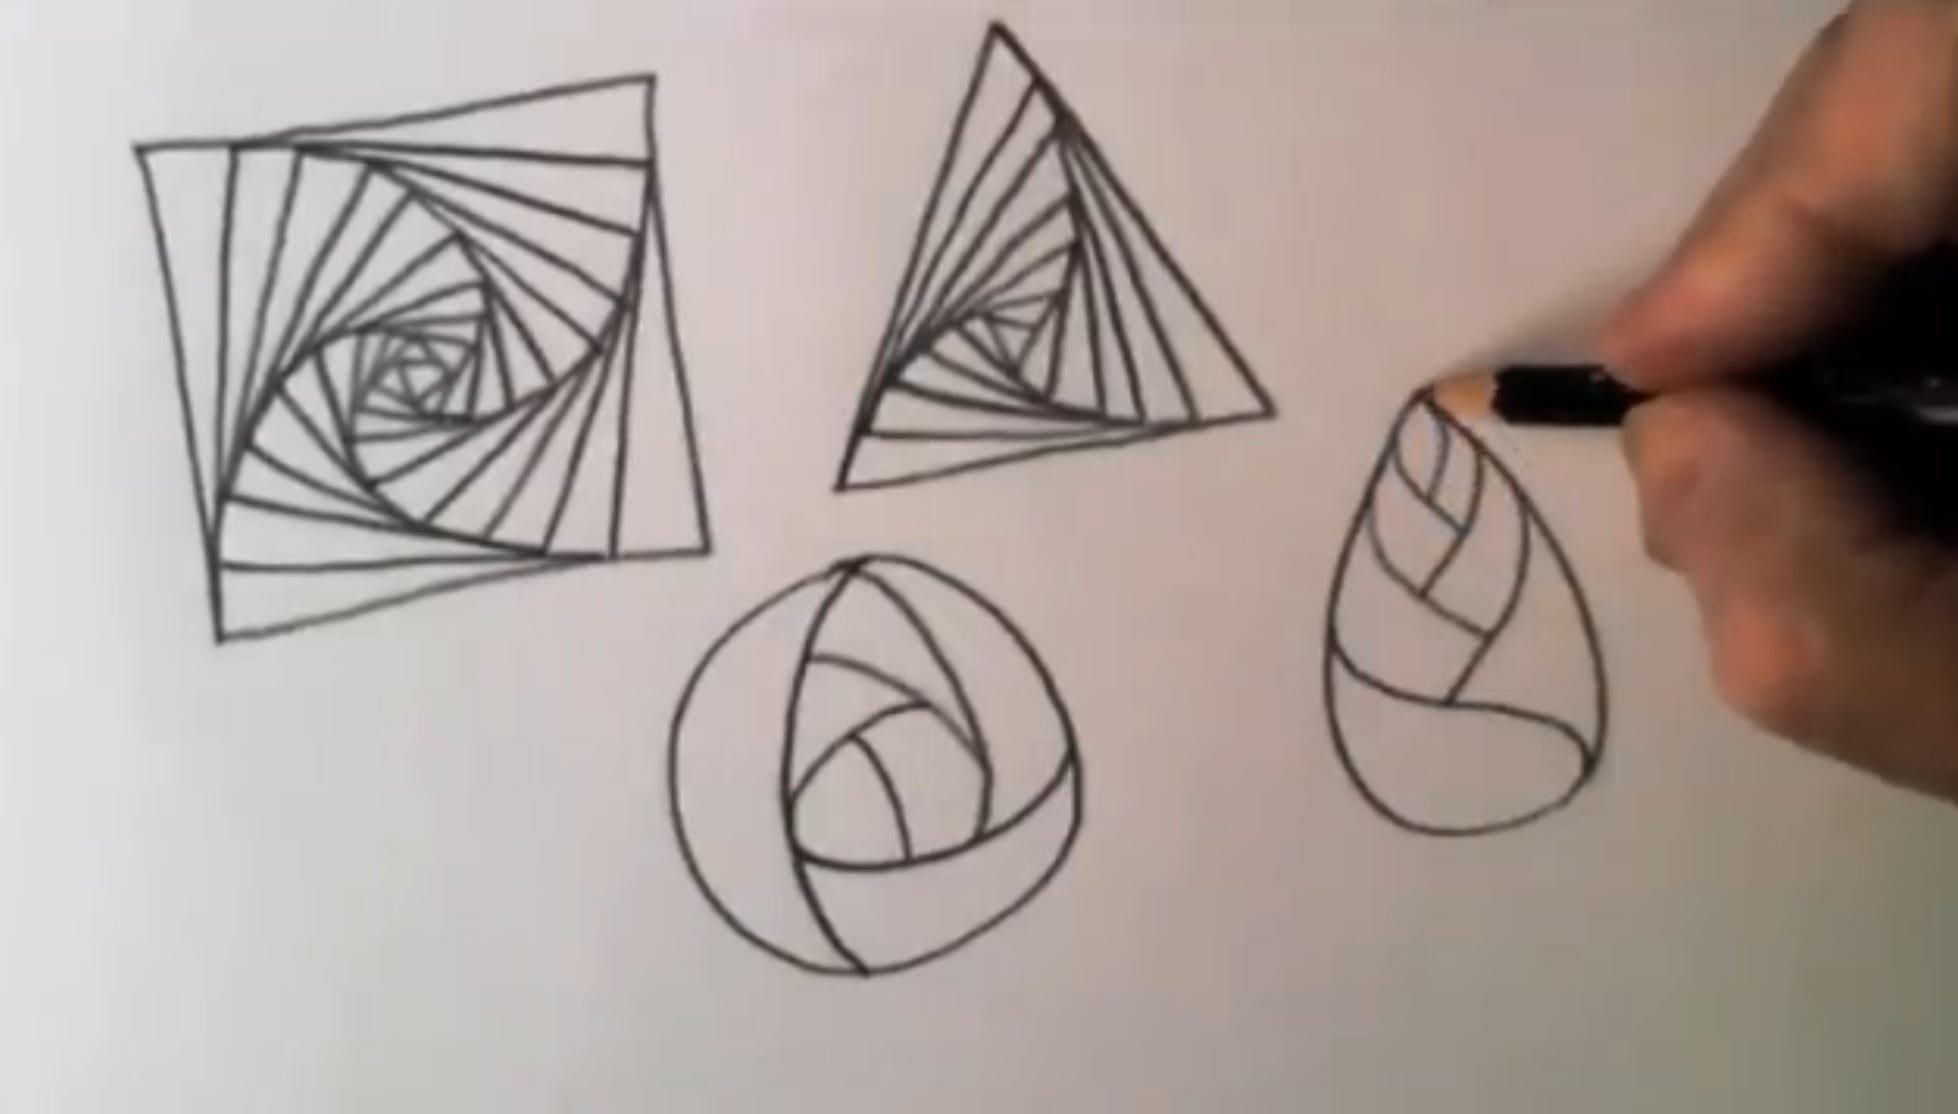
We started with David Nicholls videos on Freehand Space-filling. You can view the playlist here. My scholars’ minds were blown by most of these, so I showed them several of the techniques David shares in this playlist. What’s fun is that you don’t need any special tool since it’s all freehand.
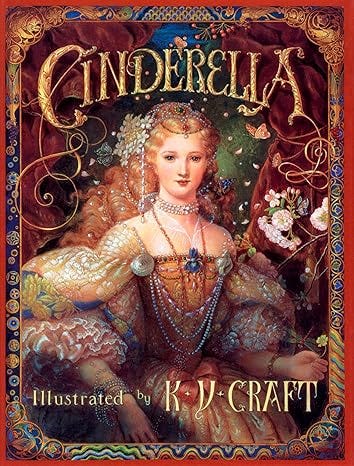
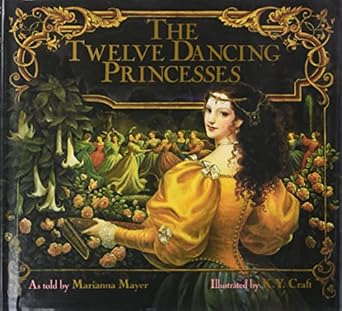
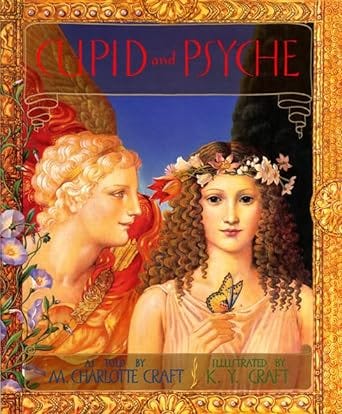
After the free-hand space-filling, we started to look at using rulers and measuring out space on a border in order to create a pattern. I drew from some of the books we have that use an illuminated style. My favorite books ended up being the beautifully illustrated fairy tales by K.Y. Craft. Her work has beautiful and simple illuminations. It’s very easy to see the elements we are learning about in her artwork because the books still maintain a lot of white space. In addition, the books use a computer font and not a calligraphy script which allows the eye to just focus on the artwork and drawings and not worry (yet) about calligraphy.
We learned how to do a key pattern, show here:

For this one you will need graph paper to get you started. It’s a lot of fun and once again, the kids just kept drawing them on everything! Here’s the video I used to teach it:
Imitation is the key with borders. Find some borders you like either on decorative picture frames in your home, the KY Craft books recommended above, or even Tolkien’s Letter’s to Father Christmas. The Illuminated Letters Bible has tons of options. I picked the ones that I wanted to learn how to create and showed my students how to make them.
Resources:
The Bible of Illuminated Letters: A Treasury of Decorative Calligraphy
KY Craft Fairy Tales and Myths (for inspiration, formatting, and context ideas)
Letters from Father Christmas by JRR Tolkien
Pencils (for marking line spacing)
Pens (for darkening lines)
Calligraphy
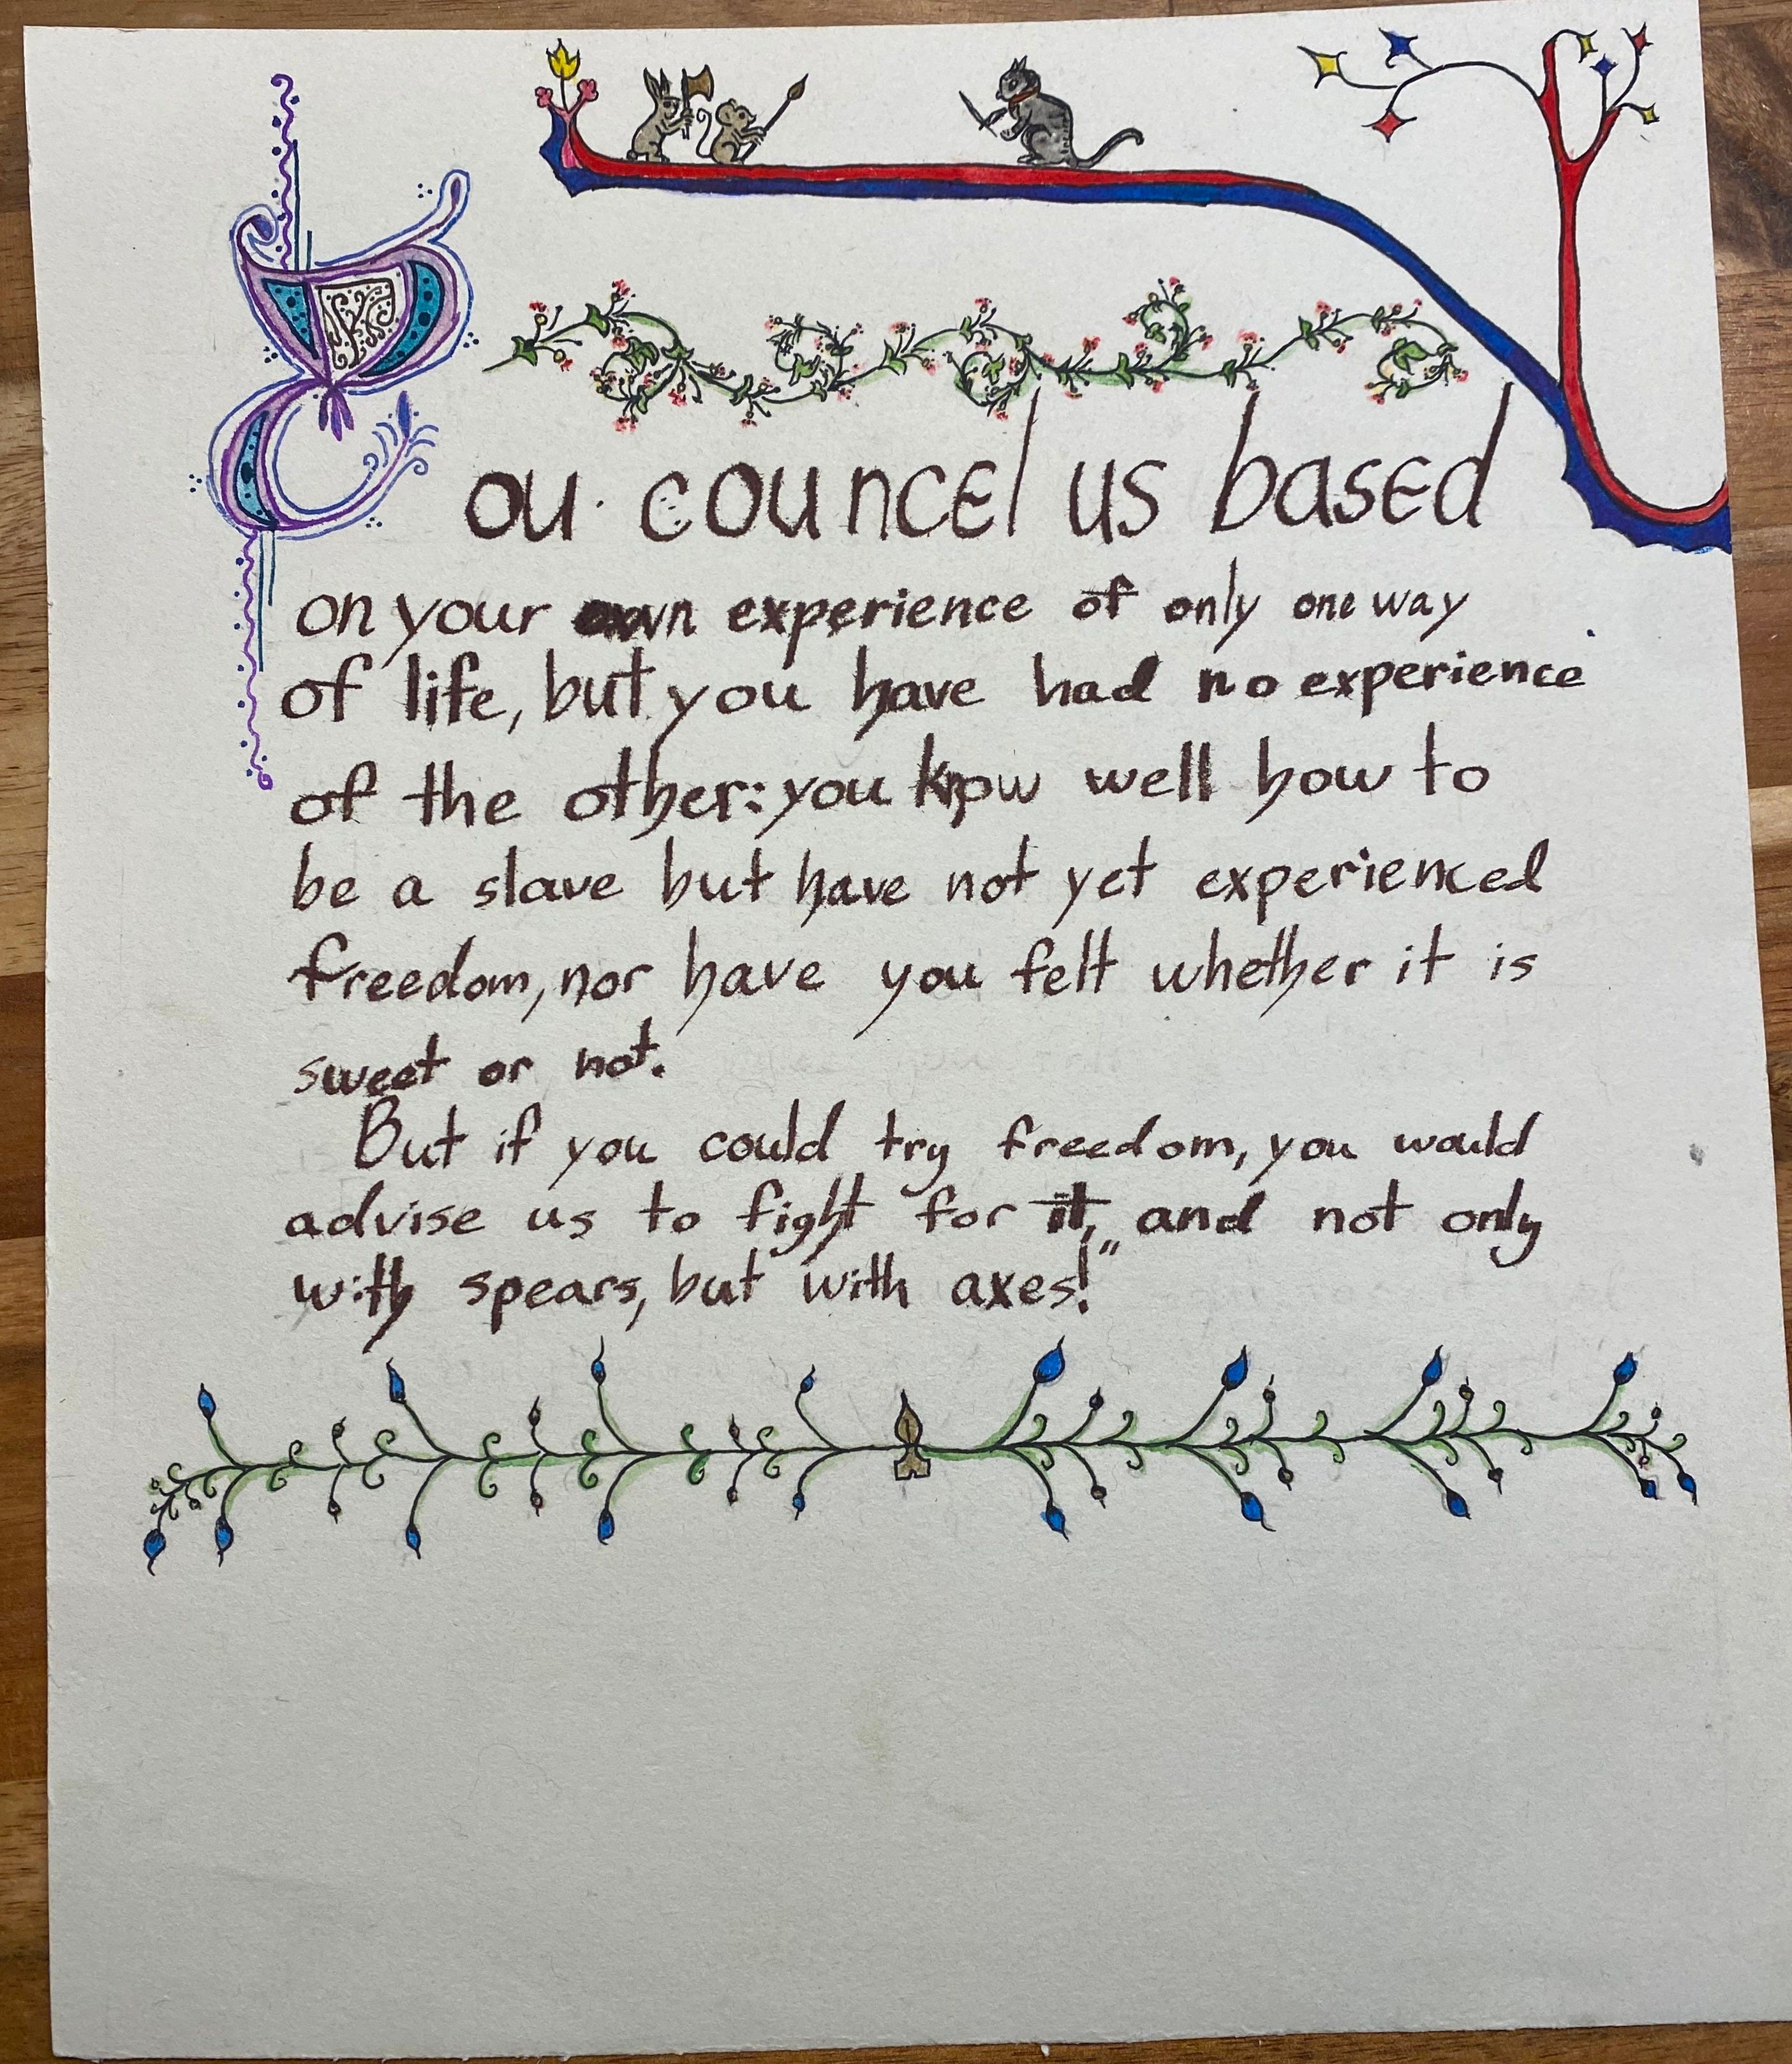
Finally, we come to calligraphy. We are just getting started with this one. If you are a Charlotte Mason educator or you are being taught in a classical school in England, your handwriting instruction is already rooted in Italics. But if you were late to the handwriting game, there’s still hope. But we just need some solid calligraphy pens, a good exemplar and guidelines to keep us straight.
.jpg")
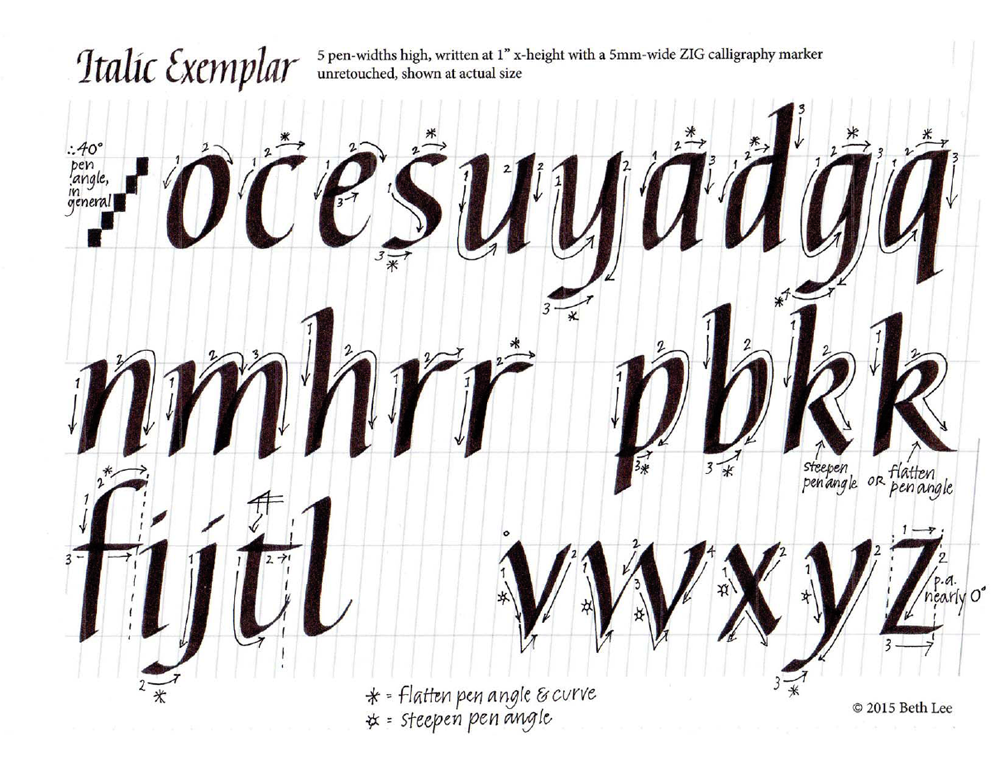
I downloaded this very simple Italics calligraphy workbook on Etsy. You need to pay attention to the size of your calligraphy pen. I went with 5mm since that’s what David Nicholls (of the Celtic Knots) recommends starting with because, he says, you will make larger letters and therefore you will see your mistakes more easily. You need to match your gridlines with the size of your pen because if you have fat pen with small guidelines then your letters will have the wrong proportions.
I got a set of 10 5mm edding black Calligraphy pens since I’m teaching a larger group.
Resource Master List:
Books:
Italics calligraphy workbook (ebook)
The Bible of Illuminated Letters: A Treasury of Decorative Calligraphy by Margaret Morgan
Illuminated Letters Sketchbook (Interactive Journal, Notebook) by Jane Sullivan
KY Craft Fairy Tales (My favorite were The Twelve Dancing Princesses , Cupid and Psyche and Cinderella for the variety of types of illumination i.e. some have more elaborate letters (Cinderella) with simple borders while other books have simpler letters with elaborate borders (Twelve Dancing Princesses & Cupid and Psyche.)
Art supplies:
5mm edding black Calligraphy pens (These are the easiest to get started learning. Calligraphy does take some getting used to.)
Protractor and compass class set
Pilot Calligraphy pens variety pack (these are a step up from the edding pens. I wanted to have smaller pen options for my own creations and for my older kids to try different sizes. These are recommended everywhere as great beginner pens and I agree.)
Watercolor Paper for final projects
Computer paper or sketchbook for practicing
Canvas Pouch for containing the protractors, compass and pens (I keep them all in one pouch so I can just grab it for class and my older kids can have access to them without little hands destroying our supplies.)
If you want to be effective with your Nature Study work, check out my Nature Study Hacking Guides at www.naturestudyhacking.com. Learn how to get outside and use those lovely nature journals.
Thank you so much for posting all this! I'm going to attempt teaching a basic illuminated letter to my Form I students in the fall. We're doing AO year 3 and year 1. I think I can do a simple version but still enjoy the richness of illuminated manuscripts. I just want to take a deep dive into the Renaissance with them and fully enjoy this time period and look at lots of beautiful art.